Servings: 8 people
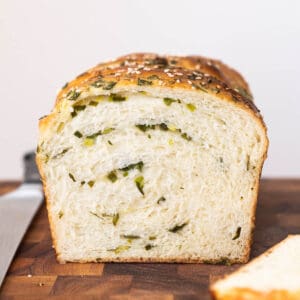
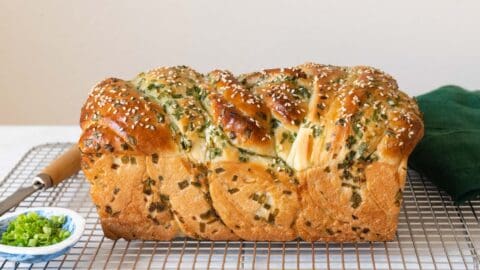
Scallion Milk Bread
This scallion milk bread has an incredibly light and airy crumb. Because the dough contains tangzhong, the bread stays nice and soft for several days. You’ll need a lot of scallions for this recipe. If you’re buying them in small bunches from grocery stores, make sure you have 2 bunches on hand. When I tested the recipe, I used a scale to measure all my ingredients; I recommend doing the same if you have a scale. If you are kneading the dough by hand, refer to the blog post for kneading directions).The dough is enriched with fat and sugar, so the second rise will take time: 1 1/2 to 2 hours (it’s usually 2 hours for me during the fall/winter). If you bake an underproofed loaf, there will be a lot of small tears throughout the bread. It’s not the end of the world–the bread just won’t look as nice.
Ingredients
Tangzhong
- 2 tablespoons (20g) bread flour, (see note 1)
- 1/3 cup (75g/78mL) water
Dough
- oil for greasing bowl, any oil works
- 1/2 cup (115g/118mL) whole milk
- 4 tablespoons (50g) sugar
- 1 1/2 teaspoons (5g) active dry yeast
- 2 3/4 cup (330g) bread flour, (see note 2)
- 1 tablespoon (10g) instant milk powder, (see note 3)
- 1 teaspoon (4g) Diamond Crystal kosher salt, or sub with 1/2 teaspoon sea salt
- 4 tablespoons (55g) unsalted butter, melted and cooled slightly
- 1 large egg
Scallion Filling
- 1 1/3 cup (90g) sliced scallions
- 3/4 teaspoon (3g) Diamond Crystal kosher salt, or sub with 3/8 teaspoon sea salt
- 1 tablespoon sesame oil
Topping
- 1 egg
- 1 tablespoon milk
- 1 to 2 tablespoons toasted sesame seeds
Special Equipment (some links below are affiliate links)
- large mixing bowl
- thermometer
- stand mixer
- 9x5-inch loaf pan, (see note 4)
- rolling pin
- brush for egg wash
- cooling rack
Instructions
Make Tangzhong
- You can make the tangzhong in a saucepan or the microwave. For the saucepan method, whisk the flour and water together until the flour dissolves. Place the saucepan over medium heat and stir the mixture frequently. In about 30 seconds to 1 minute, the flour will start to thicken. Stir constantly until the watery liquid absorbs into a thicker paste. Turn off the heat and transfer the tangzhong to a bowl to cool.
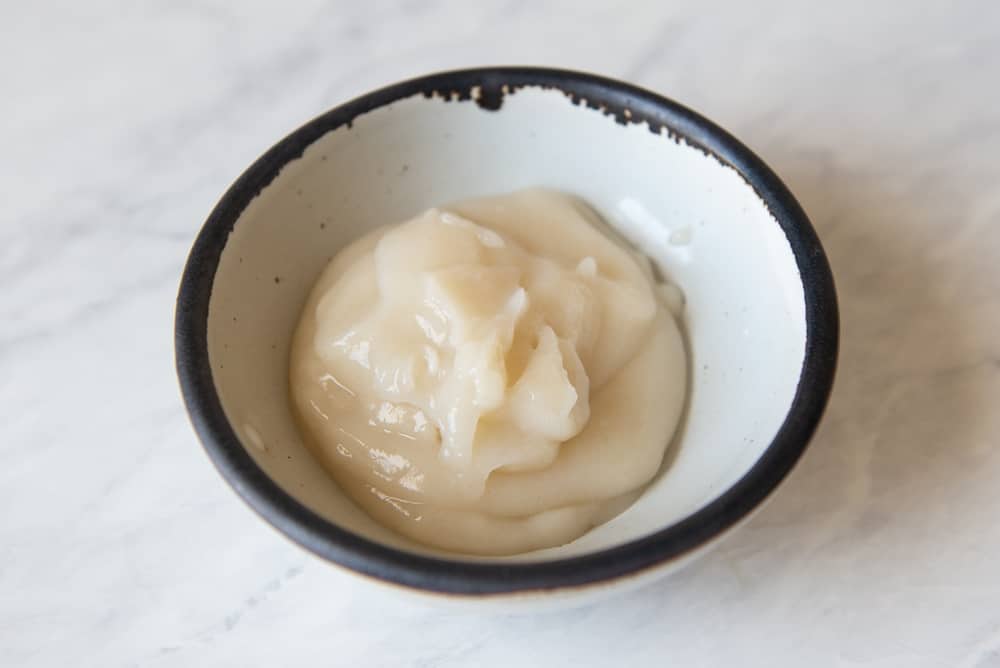
- For the microwave method, whisk the flour and water together in a microwave-safe bowl. Then, heat the mixture for 30 seconds on high. Take the bowl out of the microwave, stir everything and check the consistency of the mixture. If it has started to form into a paste, stir everything and let cool. Otherwise, heat the mixture at 5 to 10-second intervals, stirring in between, until you get a thick paste. Try not to overheat the tangzhong in the microwave because it can turn into a solid, stiff paste.
Prepare Dough
- Lightly grease a large mixing bowl with oil and set it aside.
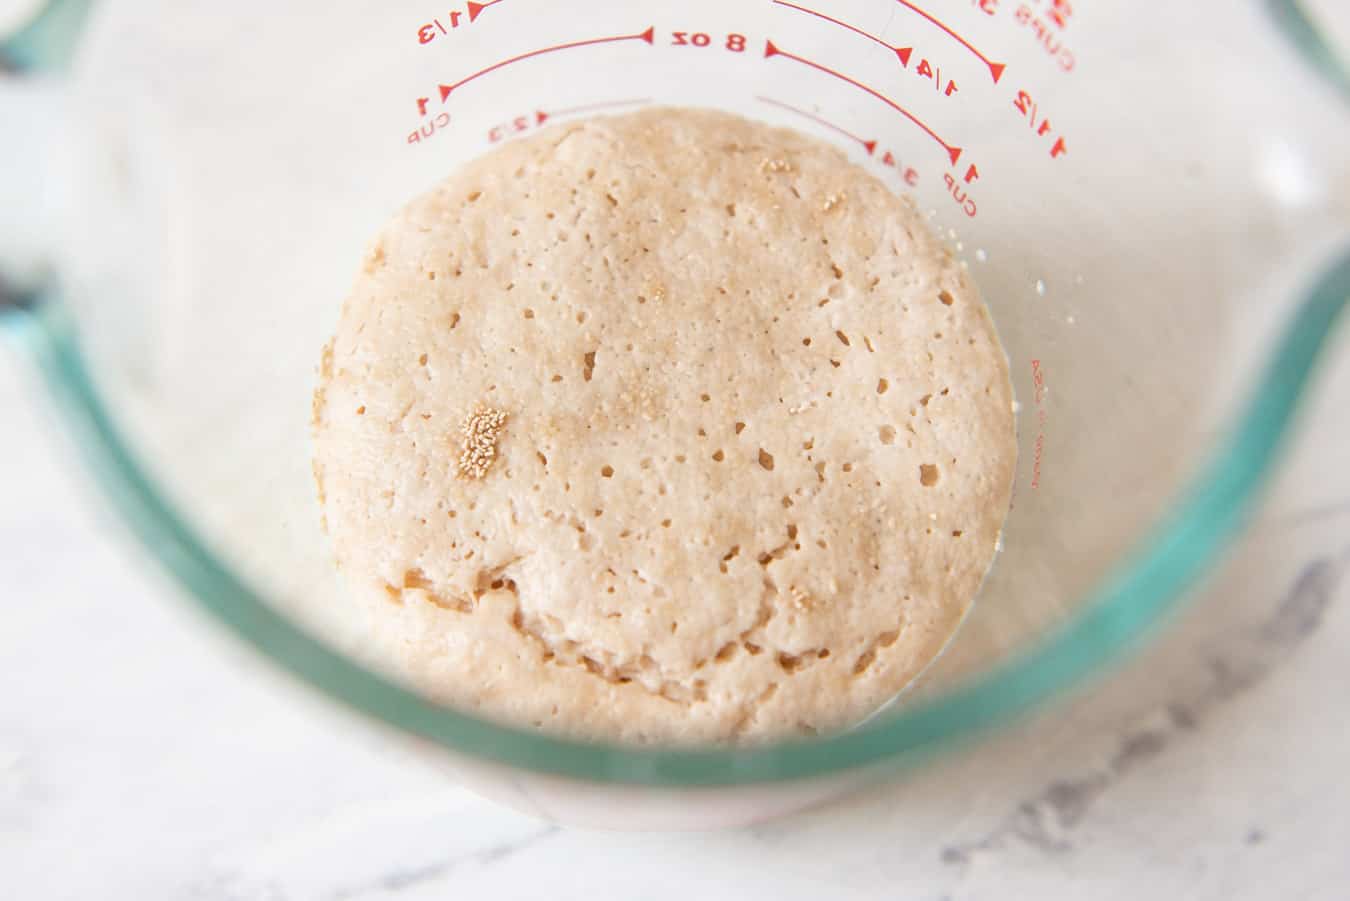
- In a microwave-safe bowl, heat the milk in the microwave on high for about 30 to 40 seconds. Use a thermometer to check the temperature of the milk. It should be somewhere around 105ºF to 120ºF. If the milk isn’t hot enough yet, heat it again for 5 to 10 seconds. If the milk is too hot, quickly whisk the milk and let it cool for several minutes. If you don’t have a thermometer, use your fingers to test the temperature. The milk should feel very warm but not scalding hot either.
- Add the sugar and yeast to the milk. Stir to hydrate the yeast. Let it sit for 5 to 8 minutes while you prepare the other ingredients. After 5 to 8 minutes, you should see a layer of foam on the top, at least 1/4 inch thick (an indication that the yeast is active).
- In the bowl of a stand mixer, add the flour, tangzhong, milk/yeast mixture, instant milk powder, salt, melted butter, and egg.
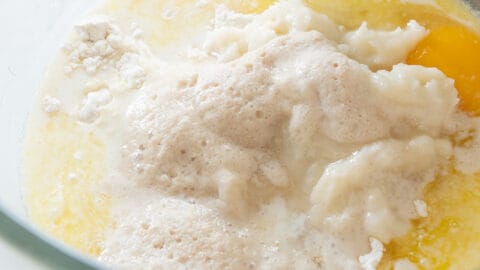
- Fit the mixer with the dough hook. Mix the dough on low until you don’t see any loose flour on the sides of the bowl. This should take 30 seconds to 1 minute.
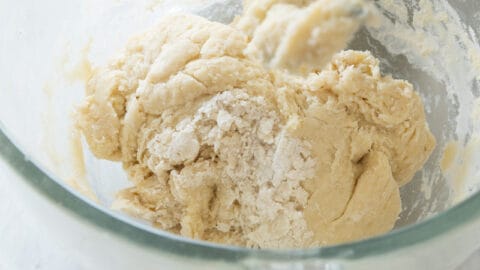
- Then, increase the speed to medium-low and work the dough for 8 minutes. You may need to scrape down the sides of the bowl occasionally.
- Scrape the dough out of the bowl onto a lightly floured surface and knead a few times. If the dough is feeling tacky, lightly sprinkle flour over the dough and knead a few times.
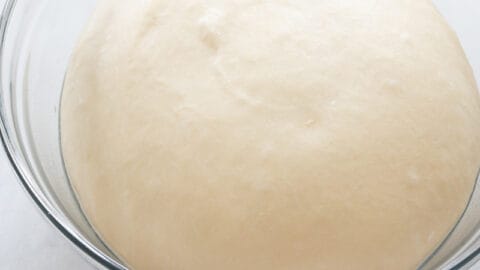
- Shape the dough into a ball and place inside the greased mixing bowl. Cover the bowl with a damp towel (or a silicone lid) and let it rise in a warm place for about 1 hour, until the dough doubles in size.
Prepare Filling
- About 5 to 10 minutes before you’re ready to shape the loaf, mix the sliced scallions with salt and sesame oil. Set the bowl aside and let the scallions soften slightly.

Shape Loaf
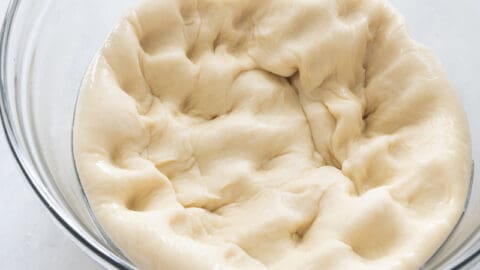
- Punch down the risen dough to release excess air. Turn the dough onto a lightly floured surface.
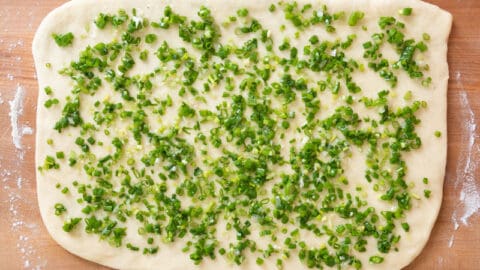
- Roll the dough out into a 14x10-inch rectangle. Spread half of the scallion filling over half of the rolled out rectangle. Fold the side of the dough without scallions over the other half, like a book.

- Rotate the folded dough 90º and roll out the dough again into a 14x10-inch rectangle. If the dough is sticking to the rolling pin or work surface, lightly sprinkle flour above/below the dough.
- Spread the remaining scallion filling over the entire surface of the rolled out dough.
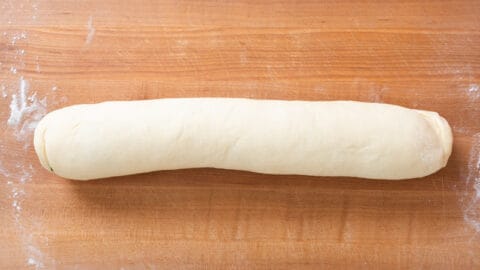
- Grab onto a long edge of the dough rectangle and start rolling up the dough into a log. Measure the log and try to make sure it’s about 14 inches long. If it’s any longer, squish the ends together to shorten the log.
- Using a sharp knife, make a long cut along the length of the dough log to cut it in half. I highly recommend using a long bread knife, if you have one. Try to work quickly as you slice the log, as it unfurls quickly due to the volume of scallion filling inside.

- Cross one strand of the dough over the other at the center.
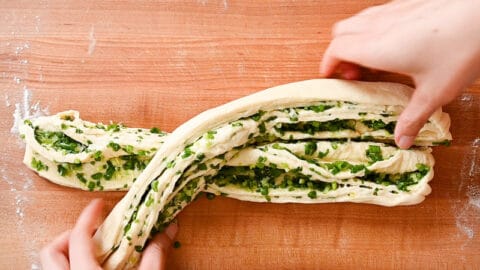
- On one end, twist the dough strands over each other twice. Do the same thing to the dough strands on the other end, until you have a twisted loaf.

- Transfer the twisted loaf to the loaf pan.
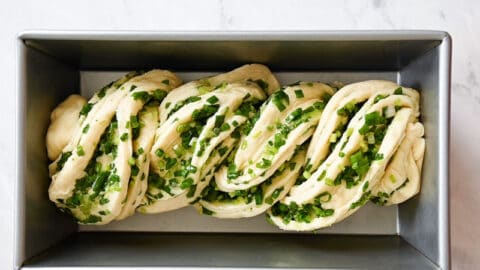
- Cover the loaf pan loosely with plastic wrap and let the dough rise for 1 ½ to 2 hours, until the dough has risen about 1 to 1.5 inches over the rim of the loaf pan. I have found that it takes 1 ½ hours to proof when I bake this in the summer and closer to 2 hours during colder months.The dough should feel quite puffy when you press it gently.

Bake Bread
- Towards the end of the second resting period, preheat the oven to 350ºF (175ºC). Position an oven rack to the center.
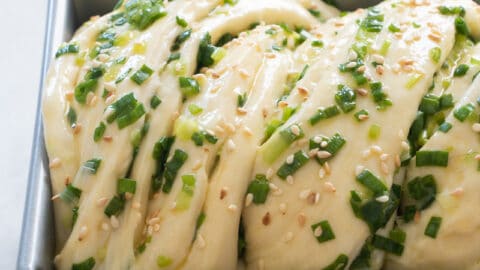
- Whisk an egg with 1 tablespoon of milk for the egg wash. Gently brush a thin layer of egg wash over the loaf. Try not to drench the loaf with egg wash, as the egg can cause the bread to stick to the sides of the loaf pan. Sprinkle toasted sesame seeds over the loaf generously.
- Bake the bread for 26 to 28 minutes, until the top is a deep golden brown. Remove the bread from the oven and let it cool in the pan for 5 minutes.
- Then, turn the bread out onto a cooling rack. I don’t like to let the bread cool in the pan because I find condensation can develop inside the pan, making the bread wet. If the baked egg wash is causing the loaf to stick to the pan, gently use your fingers to press the loaf away from the pan to release it. Let the loaf cool for at least 20 to 30 minutes before slicing and serving.
- Store any leftovers in an airtight container at room temperature for 3 to 4 days.
Notes
- I have made this recipe using all-purpose flour instead of bread flour, and it works, too. The bread has a slightly less chewy consistency.
- This volume measurement comes from the spoon-and-sweep method of measuring flour.
- I add instant milk powder to give the bread a milky flavor. You can leave it out if it’s difficult to source.
- If you’re using an older pan, one that has issues with bread sticking to the edges, grease the loaf pan. Then, line the long side of the pan with parchment paper.
Nutrition
Serving: 1serving | Calories: 268kcal | Carbohydrates: 16.8g | Protein: 6.2g | Fat: 9.4g | Saturated Fat: 4.3g | Cholesterol: 16.8mg | Sodium: 258mg | Fiber: 1.5g | Sugar: 7.6g
Did you make this recipe?Tag @hellolisalin or leave a star rating and comment on the blog!