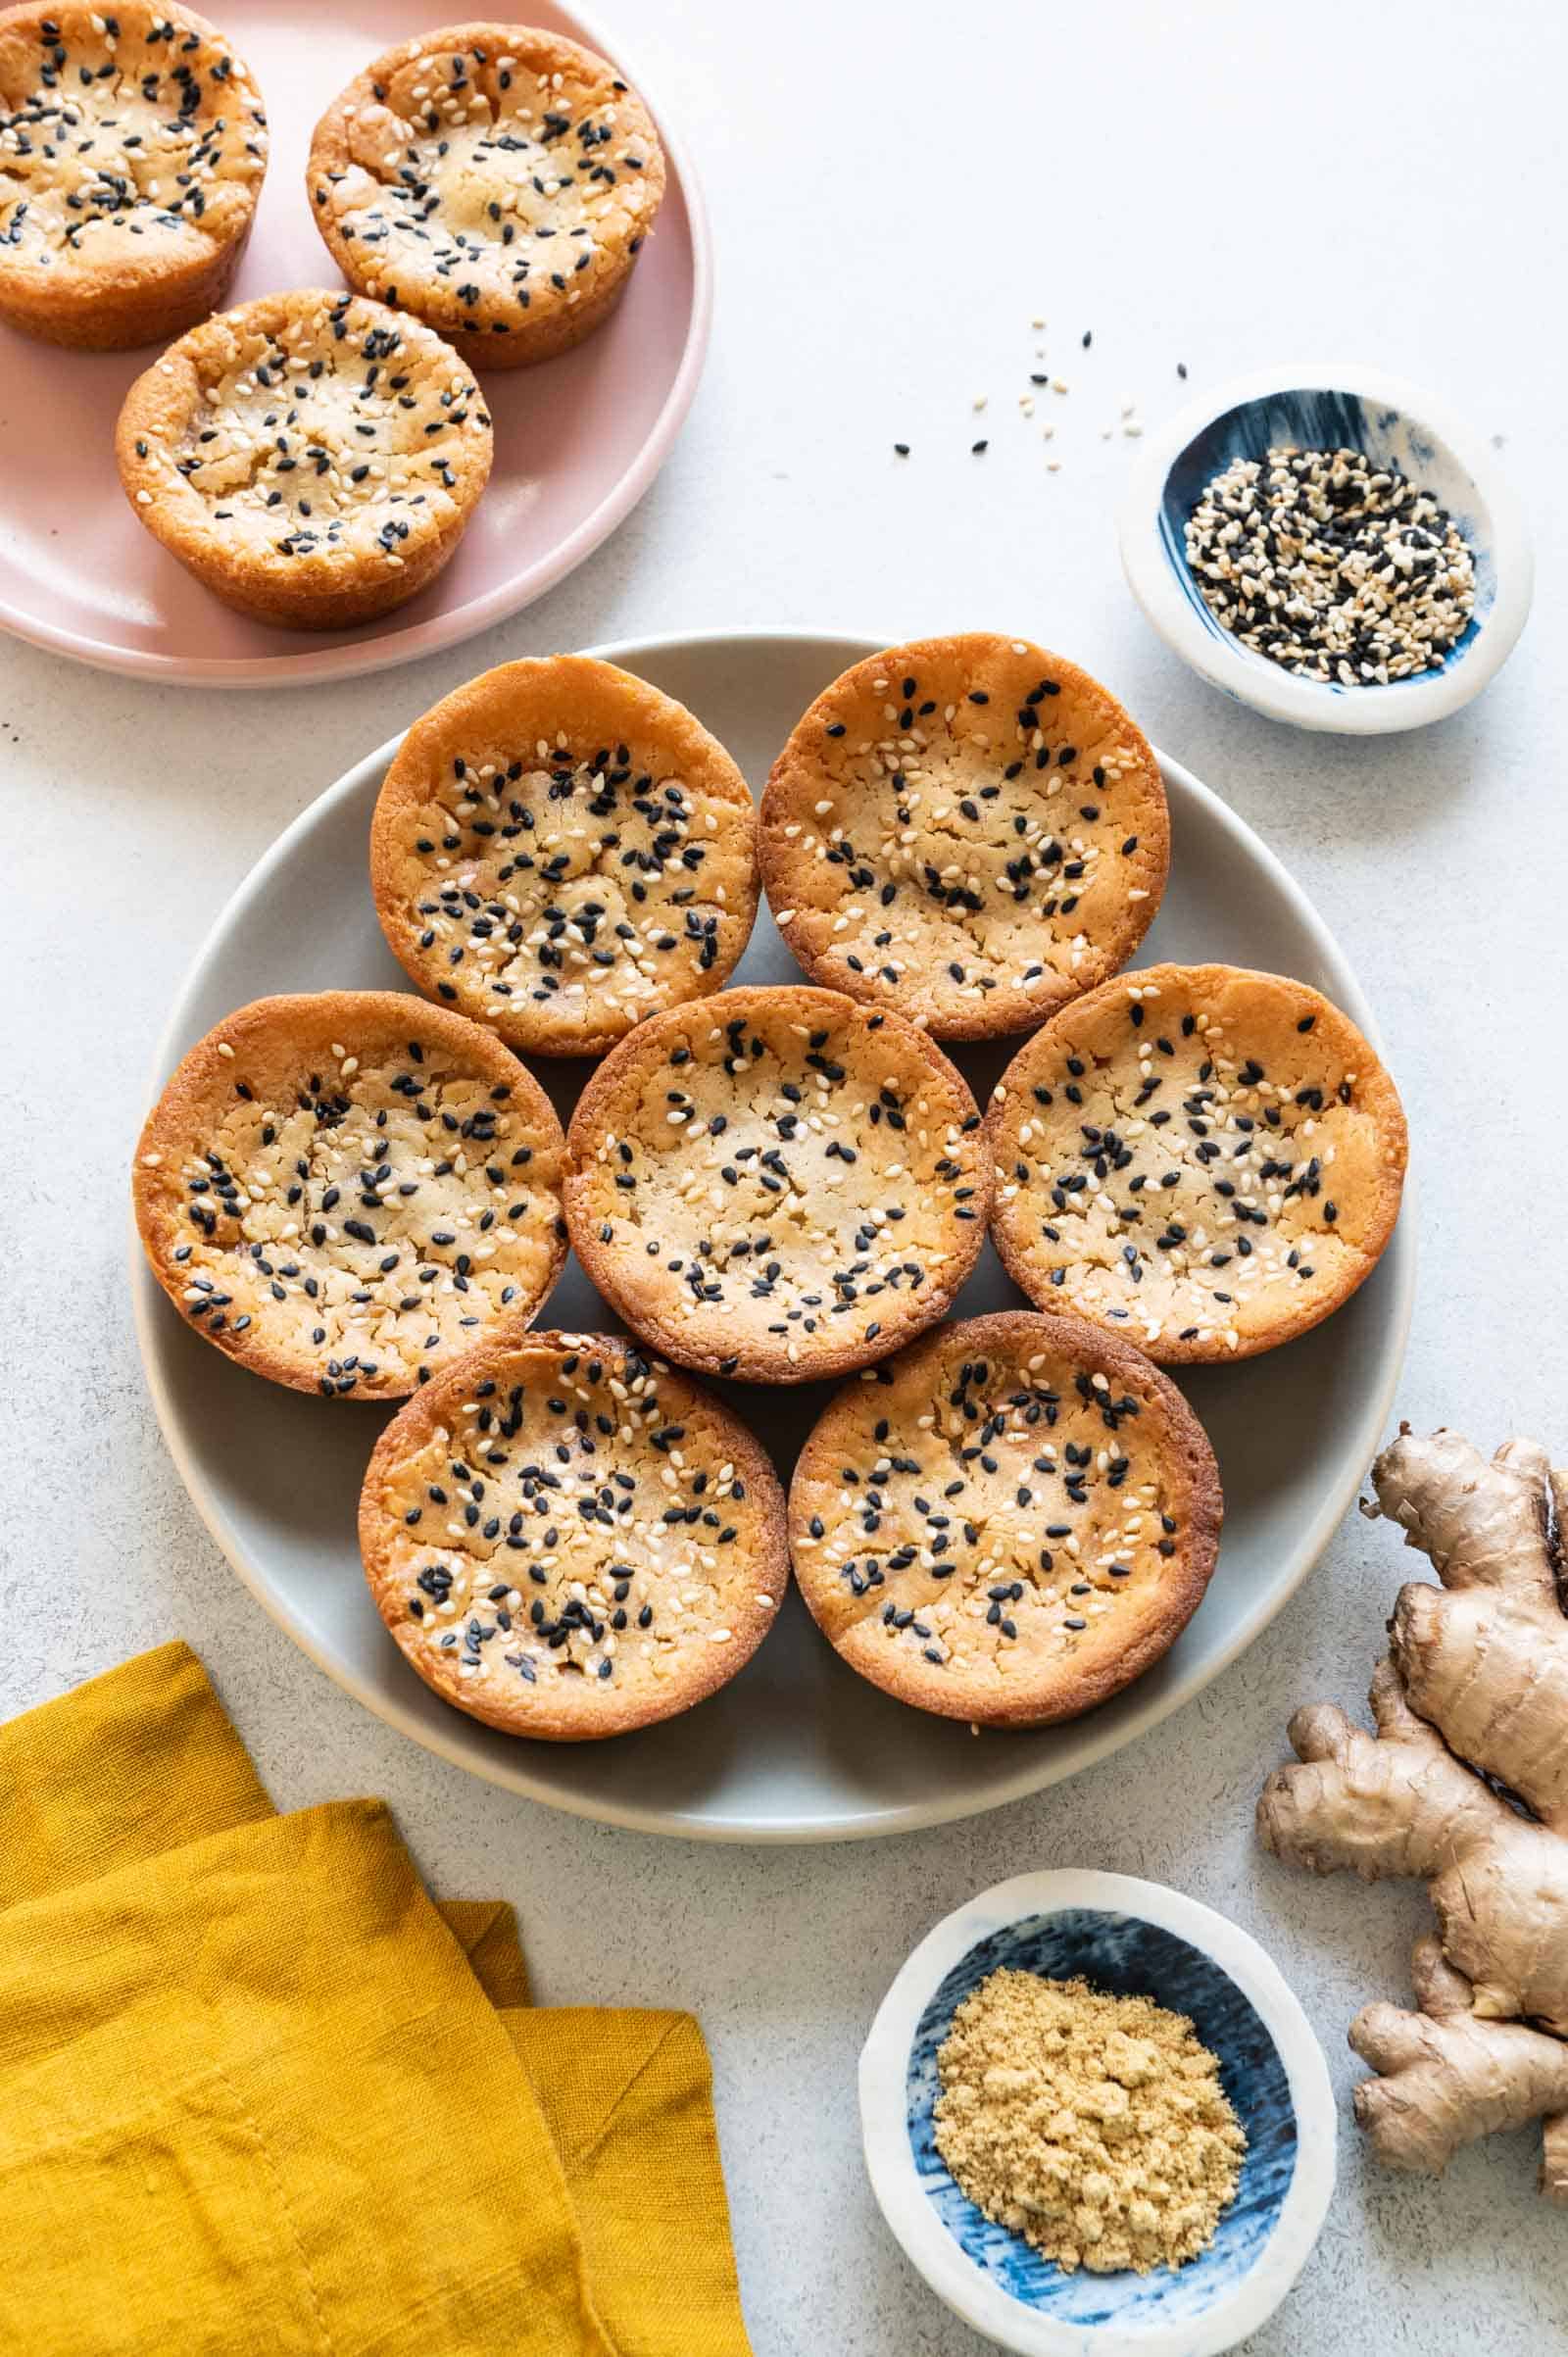
Nian gao (年糕) is a steamed cake that people make to celebrate Lunar New Year. In Mandarin, 年糕 is pronounced nian gao, and the pronunciation in Chinese is neen go. “Nian gao” is the most common English spelling, so I’ll be using that throughout this post. There are regional variations of nian gao throughout China. In Southern China, people often make the version that’s golden brown and sweetened with brown sugar.
Over the past 2 years, I’ve started to see people make baked nian gao on Instagram, (see these cakes from Joy Huang and Christopher Tan). I was so intrigued by the idea of baking nian gao and wondered if I could do the same with Mama Lin’s recipe.
Using mochi muffin and mochi cake recipes as a guide, I set out to convert my mom’s recipe into a baked version. This involved adding butter, eggs, and baking powder to the batter, which ensures that the cakes don’t dry out. Moreover, the butter and eggs add rich flavor. After many, many test batches, I’ve finally nailed down a recipe to share!
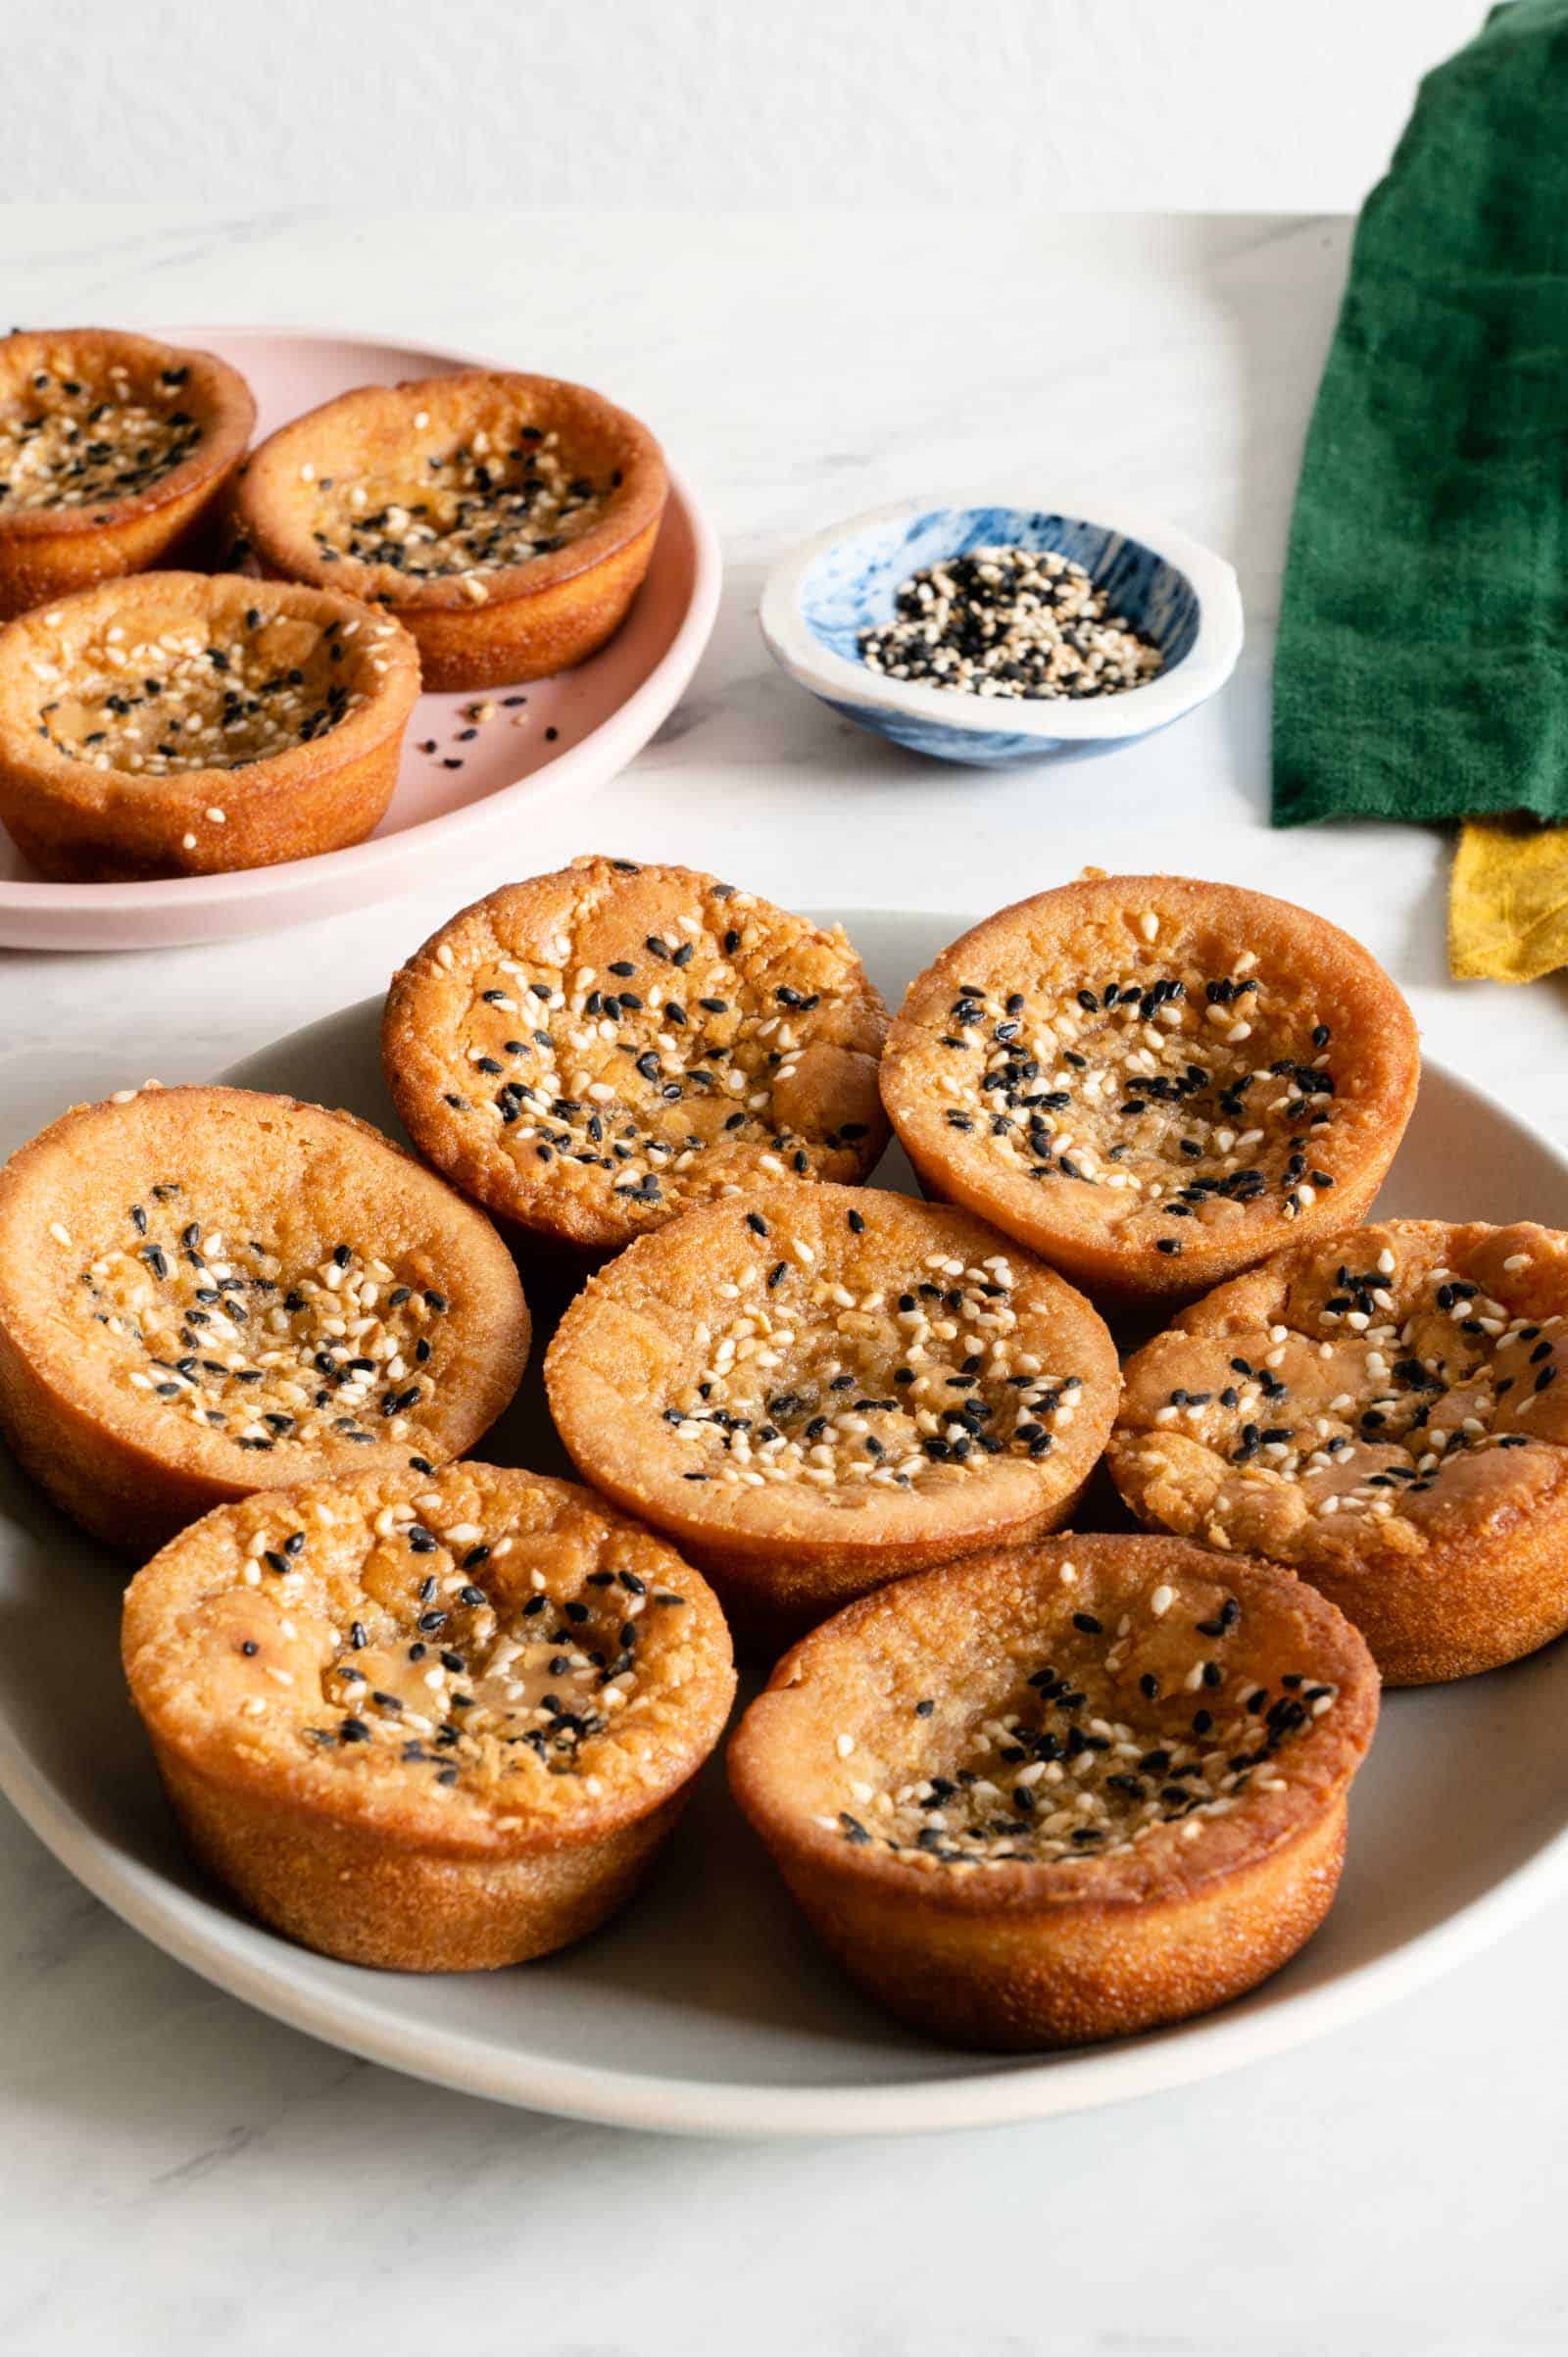
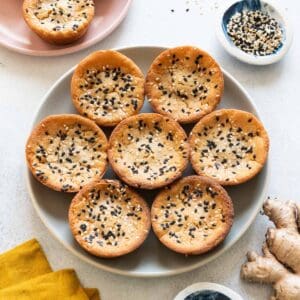
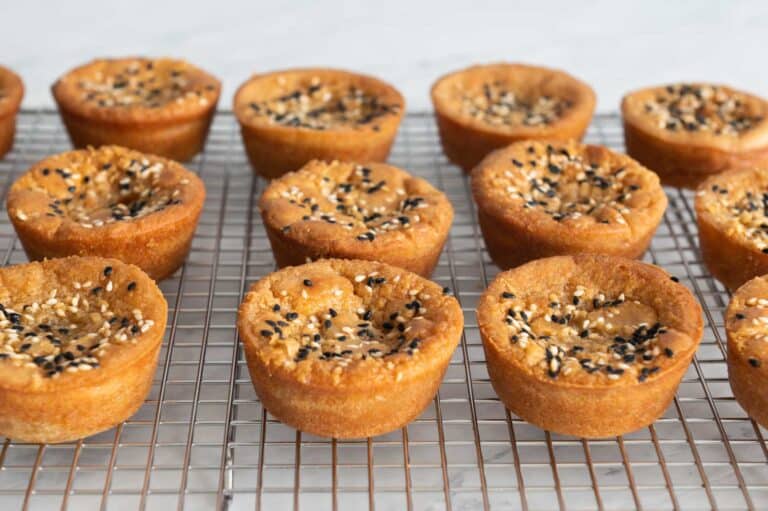
The texture of the baked nian gao is incredible. The edges of the cakes are crisp, while the center is stretchy and chewy. When I served the nian gao to my family the first time, they could not get over the textural contrast. I knew I had a winner on my hands when they kept asking for more!
BAKED NIAN GAO RECIPE TESTING NOTES
USING GLUTINOUS RICE FLOUR
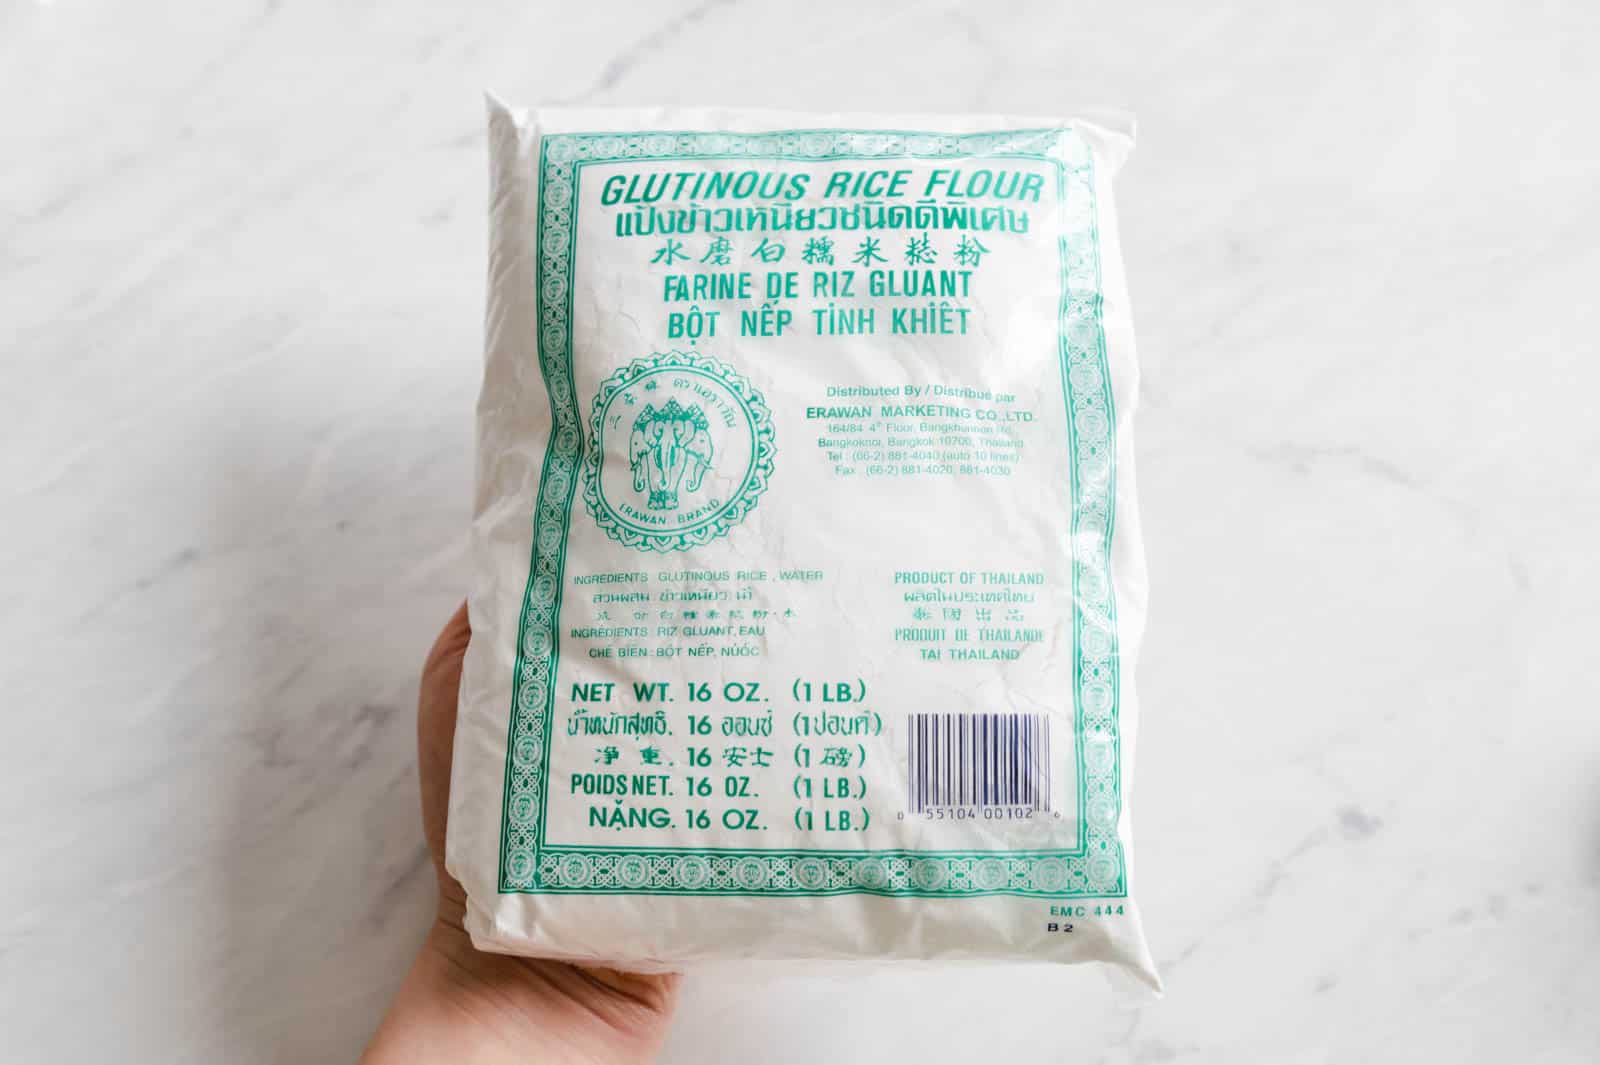
Mama Lin’s nian gao recipe uses Thai-style glutinous rice flour, so I’m using that here as well. You must use glutinous rice flour and not regular white rice flour to give the cakes its characteristic chewy quality. You can usually find Erawan brand glutinous rice flour in Asian grocery stores or on Amazon (affiliate link).
Substitution: You can also use sweet rice flour, such as Mochiko or the version that Bob’s Red Mill produces.
GINGER POWDER
To give the baked nian gao more flavor, I like adding several teaspoons of ground ginger. This ground ginger from Local Spicery is my favorite because it has a lovely zingy flavor and a little spicy kick.
BROWN SUGAR SLABS
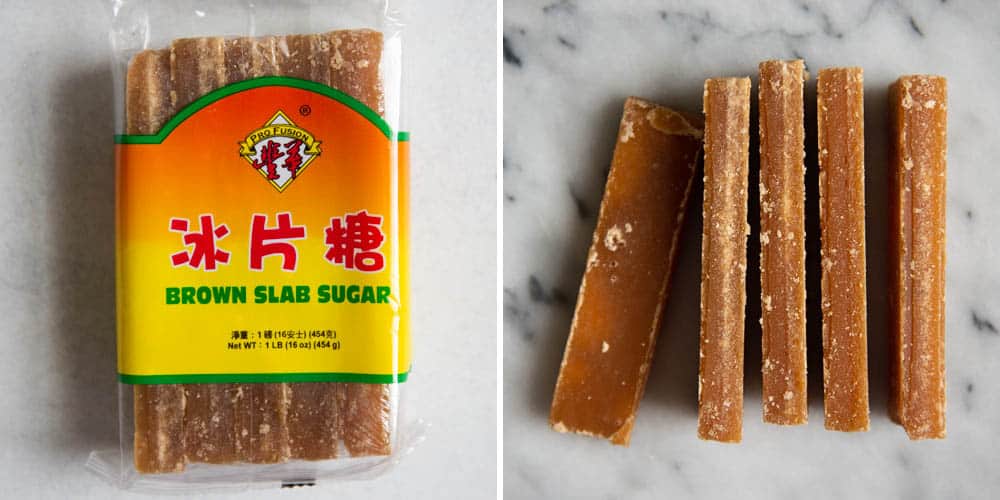
To sweeten the nian gao, my mom generally uses brown sugar slabs. You can find these at Asian grocery stores or on Amazon (affiliate link). Mama Lin tells me that the sweetness of brown sugar slabs are more “清甜,” which literally translates to “clear sweetness.” Because the sugar slabs are brick-like, you need to boil and simmer them in hot water to dissolve the sugar. I explain this process further in the recipe below.
Substitution: I know brown sugar slabs can be difficult to find, so you can use dark brown sugar instead.
USING A MINI MUFFIN PAN
My original idea was to bake the nian gao in a mini muffin pan. I love eating cakes with crispy edges, and I thought using a mini muffin pan would yield cakes with more crispy edges and less soft centers. In the end, I found this method to be more hassle than it was worth. I could only cook a very small amount of batter at a time, so it took forever to finish baking a batch. Also, cleaning the mini muffin pans was a pain. That’s why I pivoted to using regular muffin pans instead.
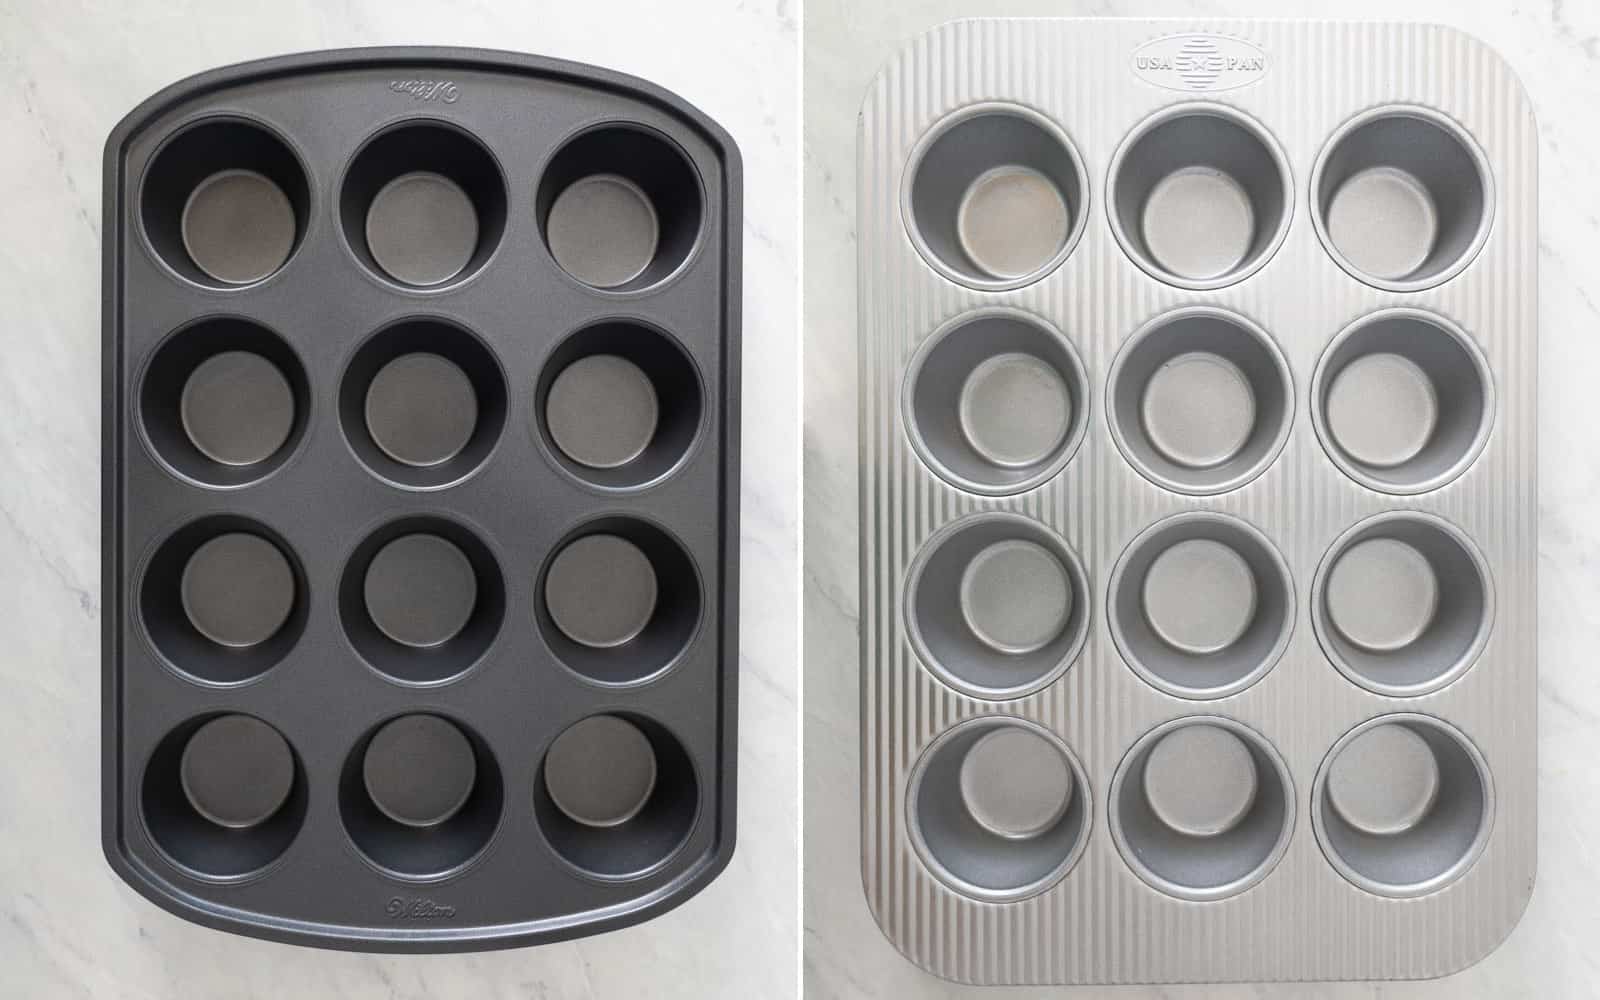
DARK VS LIGHT-COLORED MUFFIN PANS
I own several muffin pans: one very dark gray pan and two silver-colored muffin pans. During the recipe testing process, I noticed that the nian gao baked in the darker muffin pan browned faster. As Irvin Lin explains in this post from Serious Eats, darker color metals absorb heat faster, so they brown food faster as well. The type of metal and weight of the pan also affects the pan’s ability to retain heat.
I preferred baking the nian gao in the darker muffin pan because the edges of the cakes became crispier overall. Nian gao baked in lighter colored muffin pans needed a few extra minutes of cooking.
LET THE CAKES COOL COMPLETELY
In order to get the lovely crunchy texture around the exterior of the nian gao, it’s best to let them cool completely before eating (about 20 to 30 minutes). When they first come out of the oven, they are still quite soft.
TROUBLESHOOTING TIPS

WHY DO MY CAKES HAVE A DEEP HOLE IN THE CENTER?
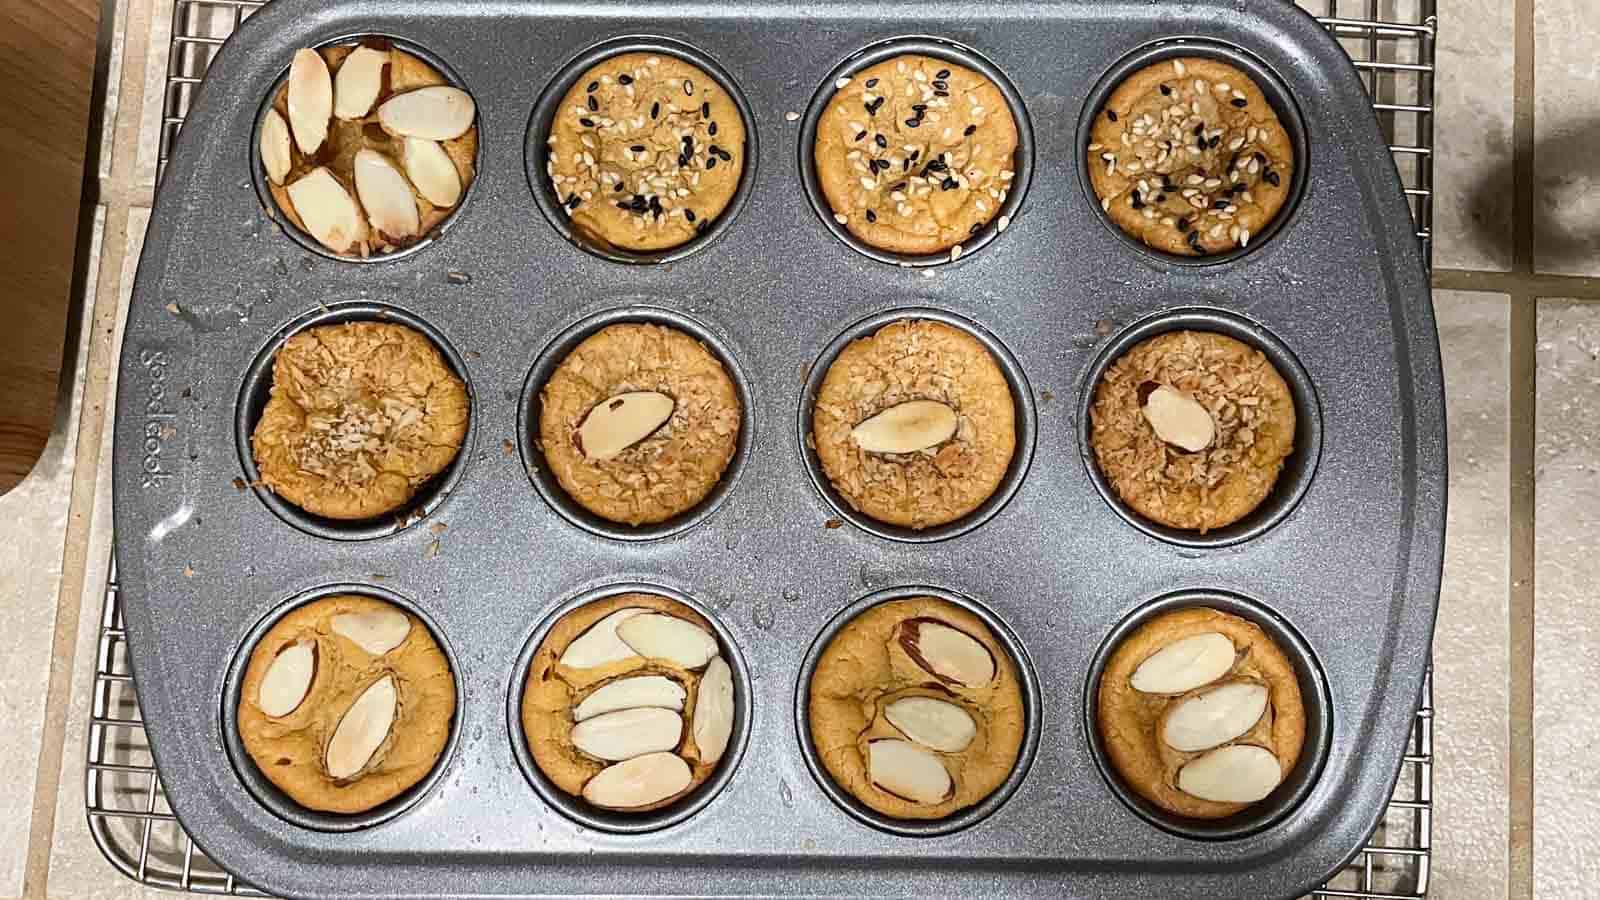
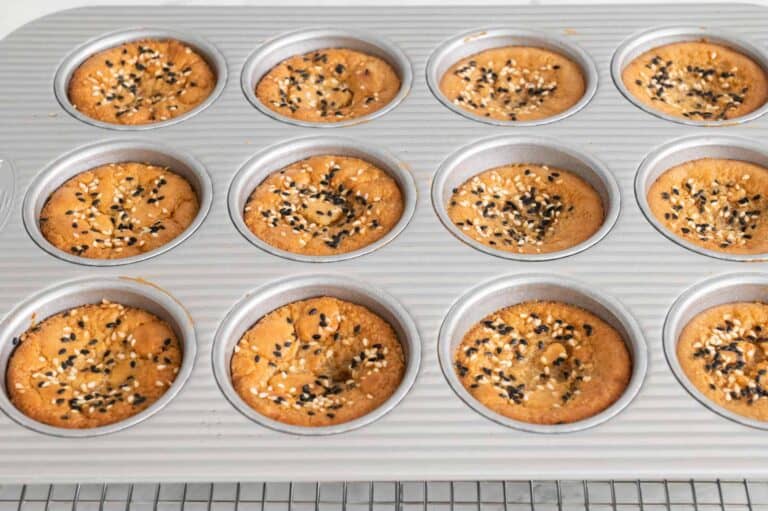
When testing this recipe, I consistently baked batches of nian gao muffins that had a deep crater at the center and sides that looked torn (see photos above). While I haven’t definitively determined why this happened, I have a few thoughts about possible contributing factors.
Baking the nian gao right as soon as the oven preheats to 350ºF (175ºC): I learned recently from an oven technician that when your oven initially completes the preheating process, the actual oven temperature is much higher than what you set. For instance, if I set my oven to 350ºF, when the oven makes a beeping noise to indicate that it has finished preheating, the actual temperature is somewhere between 375ºF to 400ºF. Because of this, the oven technician recommended that I wait at least 15 minutes before adding anything to the oven, to give the oven time to cool down slightly.
Indeed, during recipe testing, I added several batches of the nian gao right after the oven finished preheating. The higher heat causes the batter to rise very quickly, especially around the edges, creating a hole in the center. When I checked the nian gao during the baking process, it looked like I was baking Yorkshire puddings!
After speaking with the oven technician, I started preheating the oven for a longer period, and it has helped the nian gao bake more evenly.
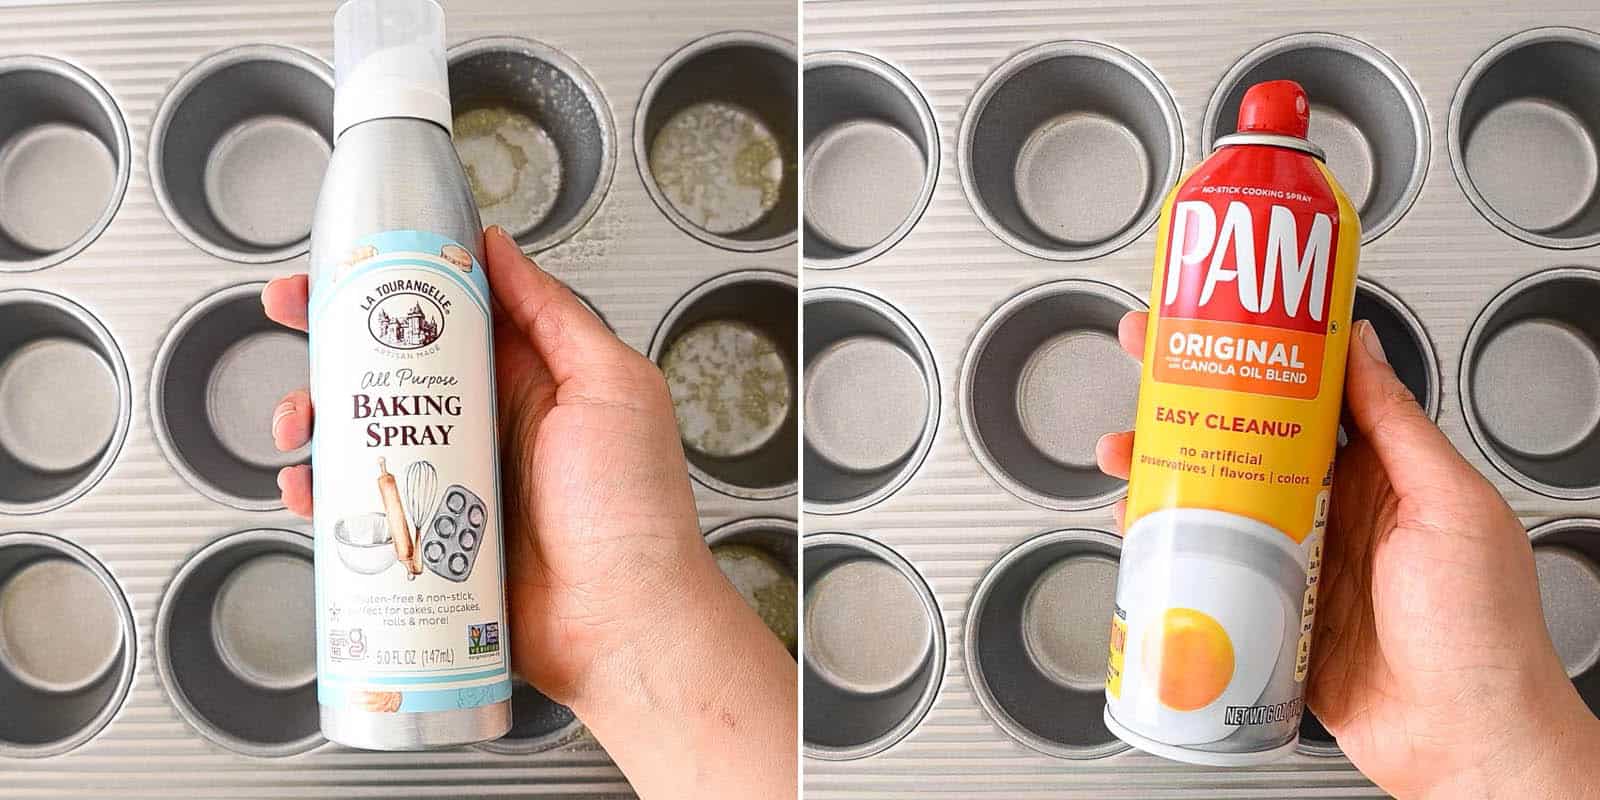
Greasing the pan with non-aerosol baking spray vs aerosol baking spray
You’ll need to spray the muffin pan with cooking spray to ensure that the baked nian gao comes out cleanly. When I tested the recipe, I used a non-aerosol baking spray from La Tourangelle and Safeway brand and Pam aerosol baking sprays. The way the oil expels from the 2 types of canisters is quite different.
With the La Tourangelle baking spray, the oil came out as a jet stream because of the pump’s design. As a result, a lot of oil landed in the muffin pan. I probably used more oil than was necessary to grease the muffin pan evenly. Once baked, the nian gao rose higher and was slightly puffy around the edges.
By contrast, aerosol sprays like Pam use propellants and additives like soy lecithin to expel the oil in a misting fashion. As a result, the oil comes out more evenly and in a thinner layer. The nian gao baked with aerosol baking sprays tended not to crater in the center. Moreover, they also had thinner and crisper edges.
Choose whichever baking spray you’re comfortable using. The hole at the center of the nian gao is very much a cosmetic issue. They will still taste great even if there’s a large hole in the center.
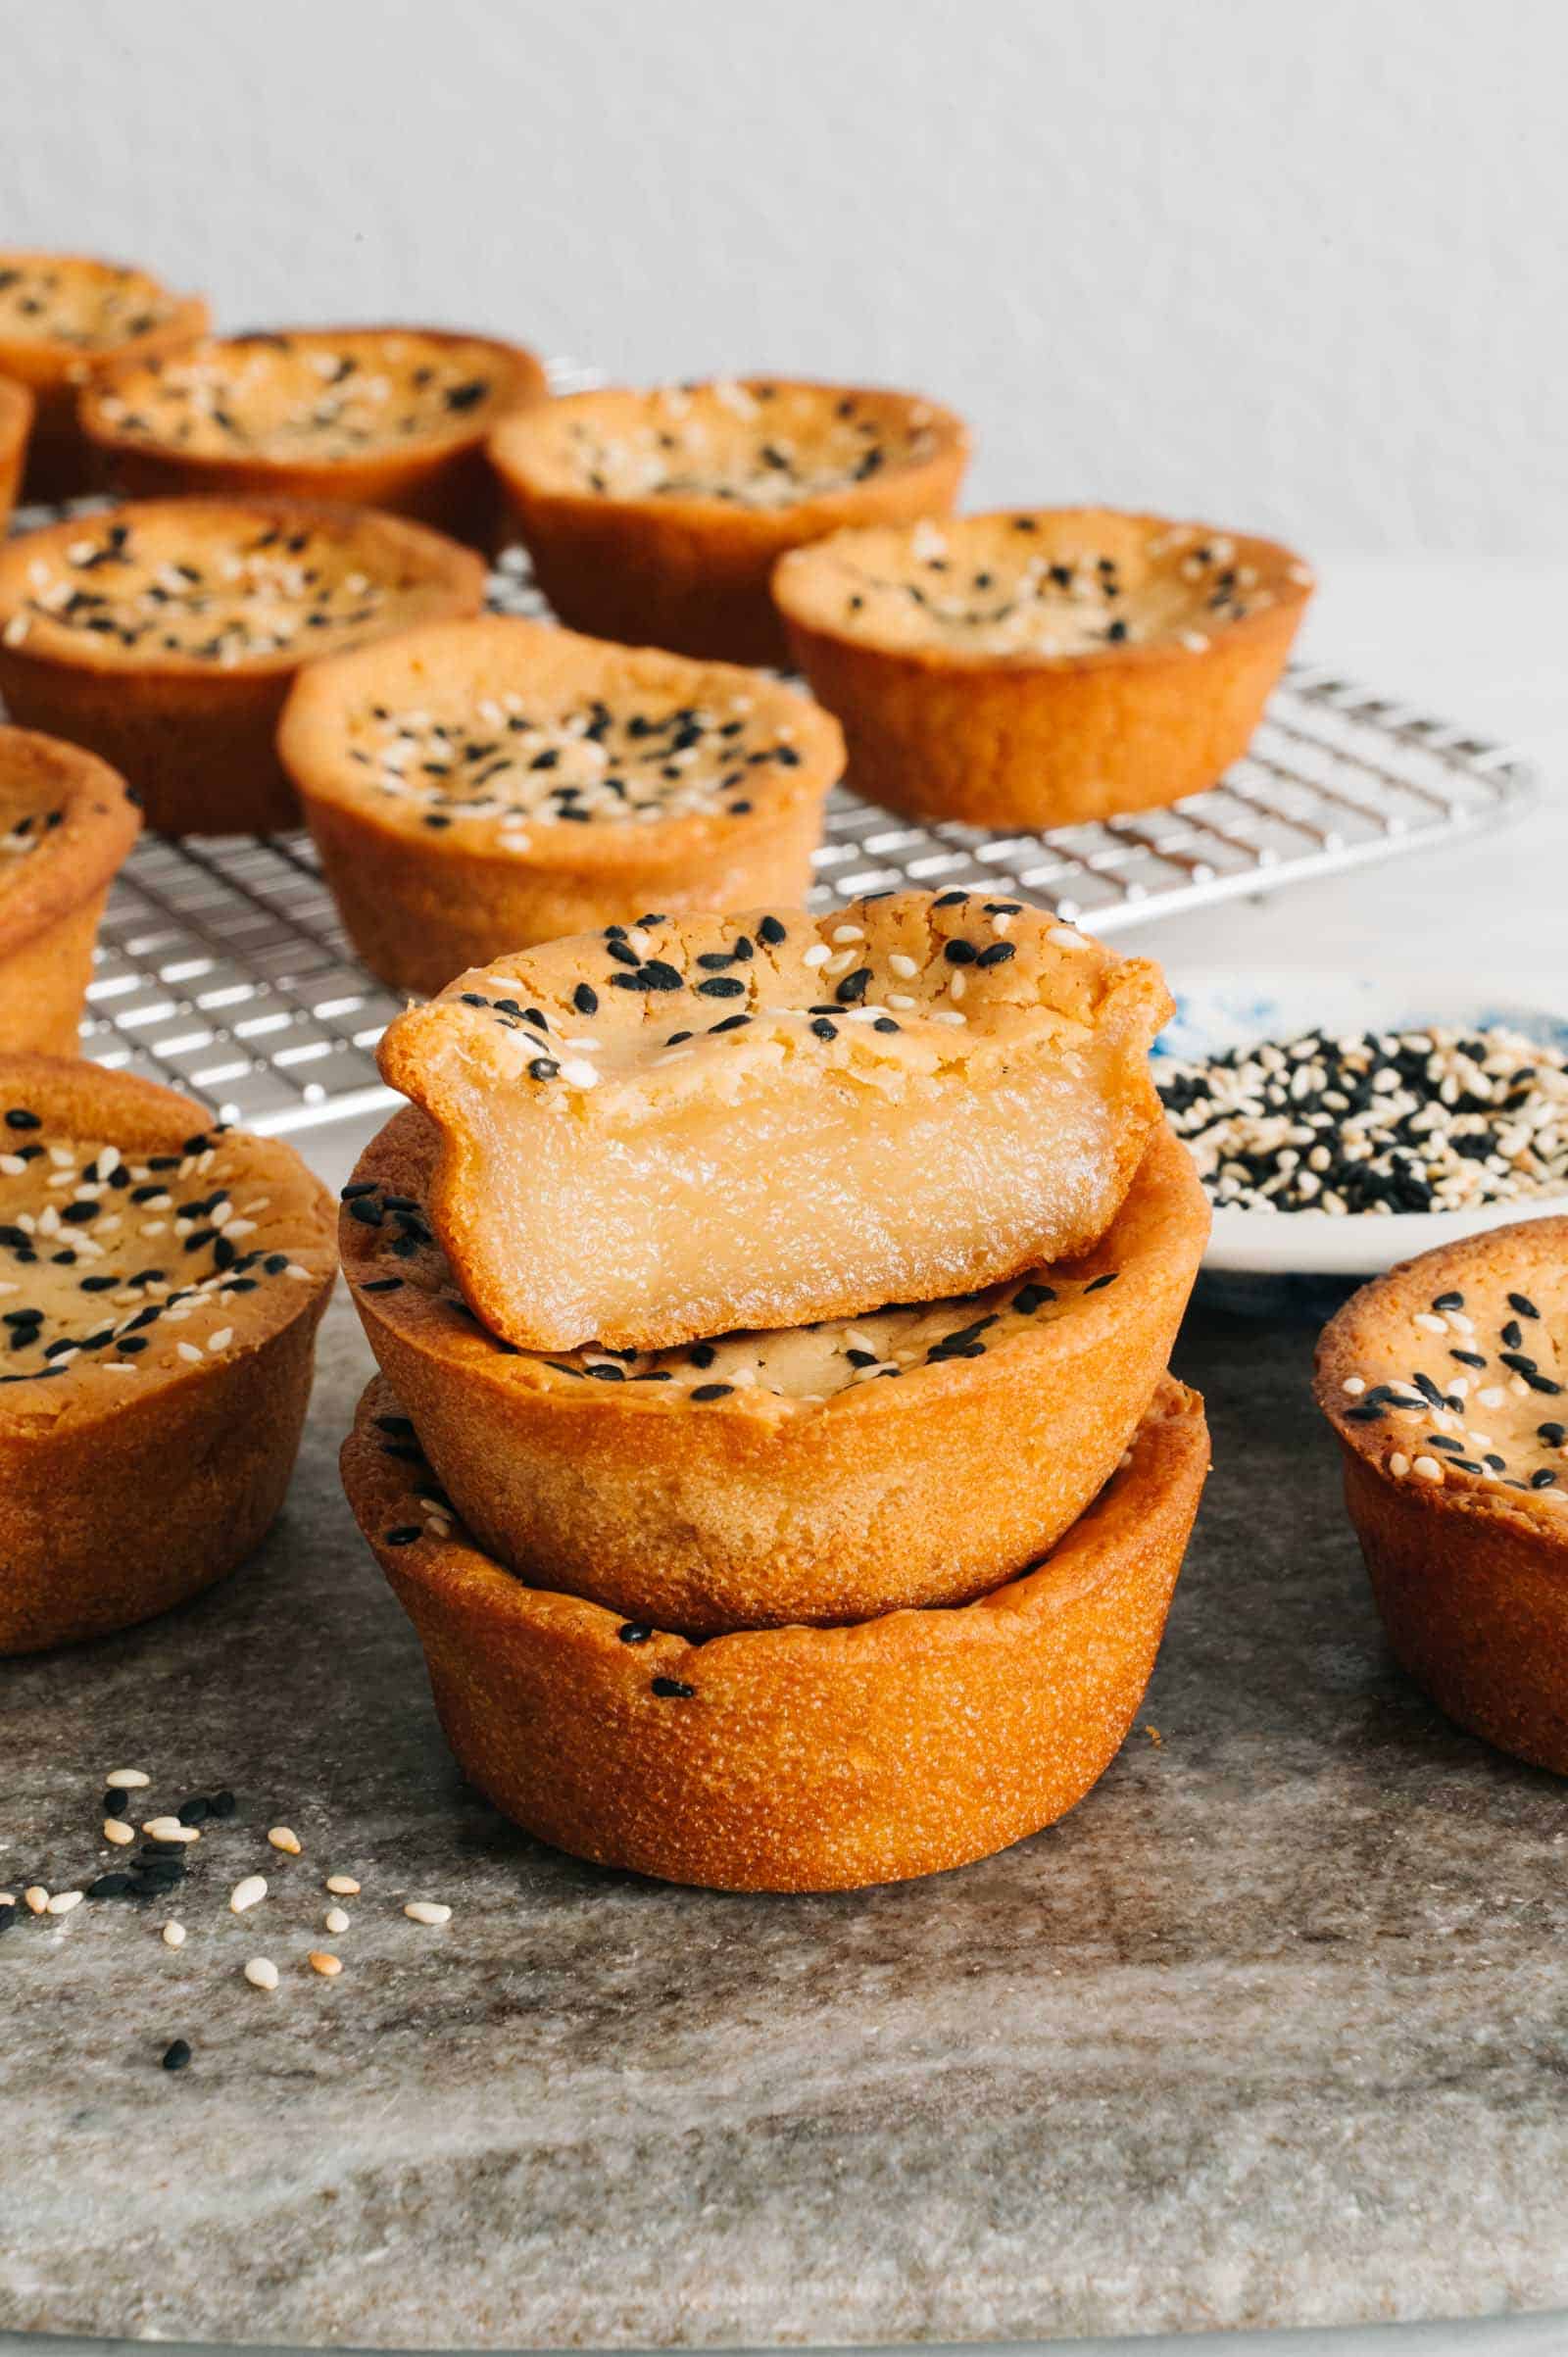
HOW DO I STORE AND REHEAT BAKED NIAN GAO?
Store baked nian gao in an airtight container at room temperature for up to 3 days; refrigerate them if you want them to keep for a longer time. The cakes soften overnight. In order to get the edges crunchy again, reheat them in the oven and let them cool completely. If you store the cakes at room temperature, I recommend heating them on a baking sheet at 350ºF for 6 or 7 minutes. If you are reheating refrigerated cakes, heat them for 8 to 9 minutes.
Baked Nian Gao
Ingredients
- 1 pound (454g) glutinous rice flour, (see note 1)
- 5 teaspoons (9g) ground ginger, use 4 teaspoons if you want a lighter ginger flavor
- 1 teaspoon (4g) Diamond Crystal kosher salt, or 1/2 teaspoon table or sea salt
- 2 teaspoons (8g) baking powder
- 12.8 ounces (363g) brown sugar slabs, can sub with dark brown sugar (see note 2)
- 1 1/2 cups (355mL) water
- 1 (13.5 ounce) can coconut milk
- 8 tablespoons (113g) cold unsalted butter, sliced
- 2 large eggs
- 1 to 2 tablespoons toasted sesame seeds, (see note 3)
- cooking spray
Equipment
- 2 (12-cup) muffin pans
- brush
Instructions
- Preheat the oven to 350ºF. Position an oven rack to the upper and lower third positions.
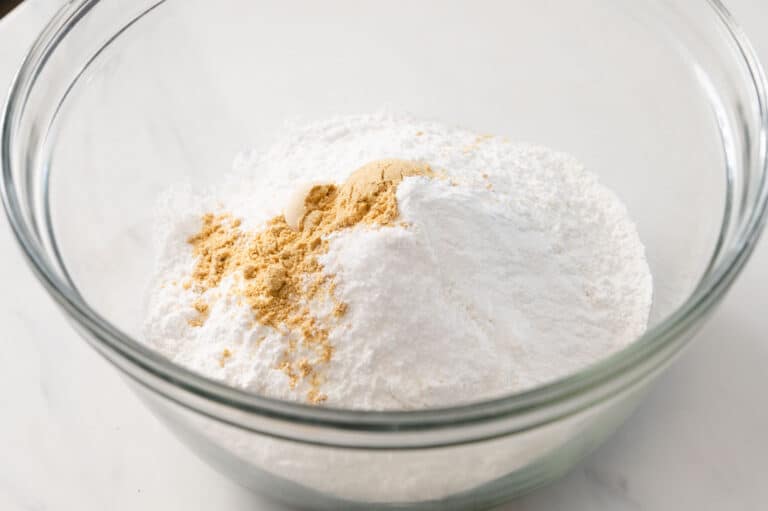
- In a bowl, whisk together the glutinous rice flour, ginger, salt, and baking powder. Set the bowl aside.
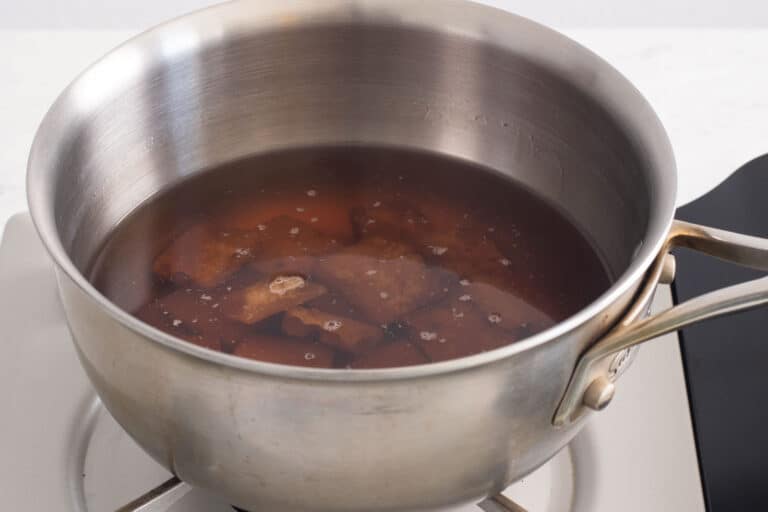
- Snap the brown sugar slabs into smaller sections and place them into a saucepan. Pour the water into the saucepan. Cover the saucepan with a lid, and bring to boil. Reduce the heat to medium.
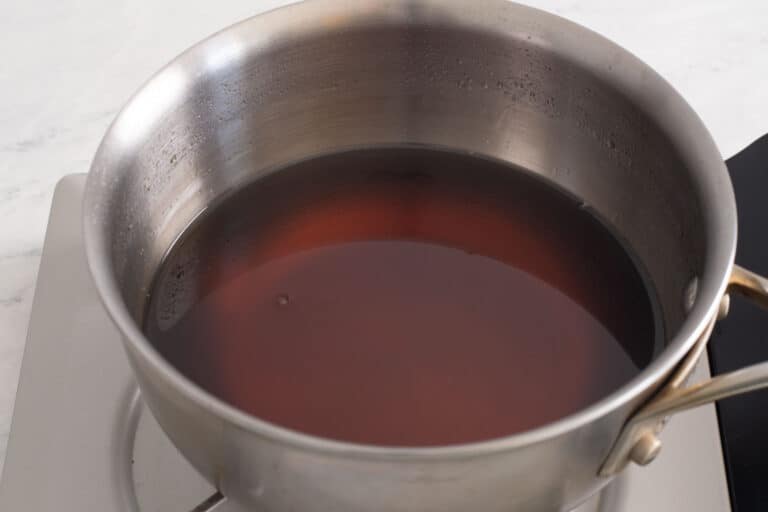
- Use a wooden spoon or spatula to break up the remaining pieces of brown sugar so that they dissolve faster. Cover the saucepan with the lid again and continue simmering until the sugar slabs dissolve completely, about 3 to 5 minutes. (See note 4 if using granulated dark brown sugar)
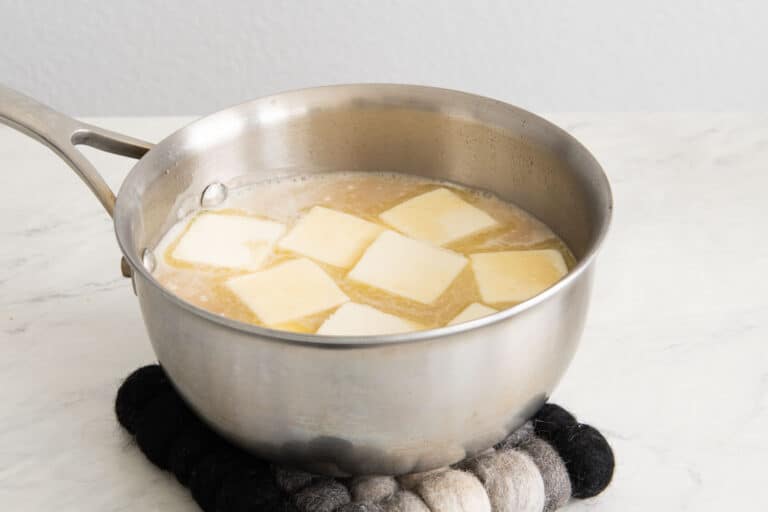
- Remove the saucepan from heat. Pour the can of coconut milk into the saucepan. Then, add the butter slices and stir until the butter melts. The cold temperature of the butter will help chill the liquid a little faster. Let the sugary liquid cool for 10 to 15 minutes, until it is slightly warm (about 110ºF to 120ºF).
- Whisk the eggs in a small bowl and then mix them with the other wet ingredients. .
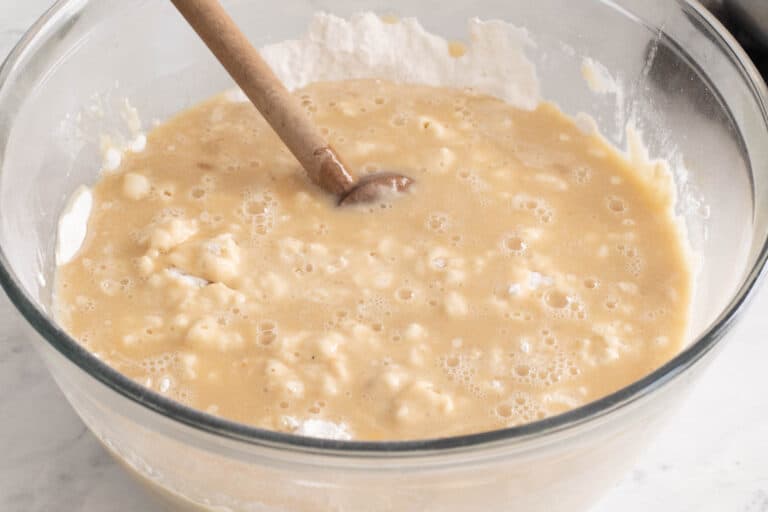
- Gradually add the warmed sugary liquid to the dry flours (I added the liquid in 2 additions). Mix the dry and wet ingredients together, until there are no more streaks of flour, about 1 to 2 minutes.
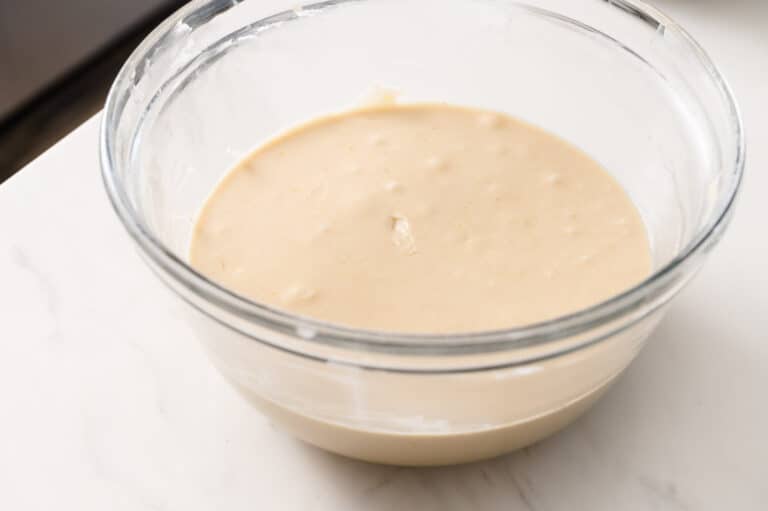
- Use your spoon or spatula to flatten large lumps of flour by flattening them against the sides of the bowl. Give the batter a quick stir again. There’ll still be lots of smaller lumps of flour in the batter, and that’s completely fine.
- Grease the muffin pans with cooking spray. Use a brush to ensure that the sides of the wells are covered with oil too.
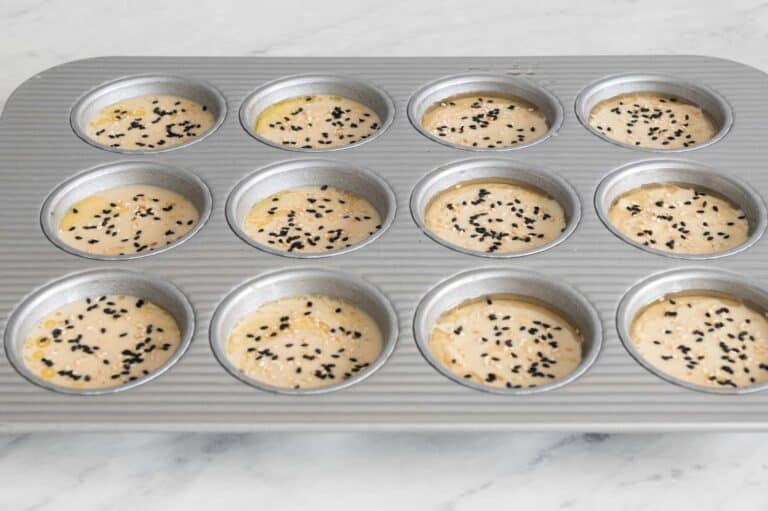
- Fill each well of the muffin pans until they’re about 80% full (see note 5). Sprinkle sesame seeds over the batter.
- Bake the nian gao for 30 to 32 minutes, switching the positions of the muffin pans halfway. The edges of the nian gao should be deeply golden, like the color of ginger snap cookies. If you are using a dark gray muffin pan, the nian gao should be ready in about 30 minutes. If you are using a pan with lighter color metal, they’ll need a few more minutes.
- Remove the nian gao muffins from the oven and let them cool in the pan for 5 to 10 minutes. The cakes will deflate as they cool.
- Transfer the nian gao to a cooling rack and let them cool for another 20 to 30 minutes before eating. The edges crisp up more as the cakes cool.
Storing and Reheating Baked Nian Gao
- Store baked nian gao in an airtight container at room temperature for up to 3 days; refrigerate them if you want them to keep for a longer time. The cakes soften overnight. In order to get the edges crunchy again, reheat them in the oven and let them cool completely. If you store the cakes at room temperature, I recommend heating them on a baking sheet at 350ºF for 6 or 7 minutes. If you are reheating refrigerated cakes, heat them for 8 to 9 minutes.
Notes
- You must use glutinous rice flour and not regular white rice flour to give the cakes its characteristic chewy quality. You can usually find Erawan brand glutinous rice flour in Asian grocery stores or on Amazon. Substitution: You can also use sweet rice flour, such as Mochiko or the version that Bob’s Red Mill produces. Volume measurement for glutinous rice flour: 3 3/4 cups measured with the spoon-and-sweep method.
- The volume measurement for regular dark brown sugar is 1 2/3 cups.
- Although I use a mixture of white and black sesame seeds for my photos, you can use just one of the two varieties. Make sure to toast the seeds for a few minutes to release their aroma.
- If you are using granulated dark brown sugar, bring the sugar and water to boil. Give everything a stir to make sure the sugar has dissolved completely. Then, add the coconut milk and butter and let the mixture cool for 10 to 15 minutes. I tested one batch of this recipe without dissolving granulated brown sugar in hot water, and the nian gao did not come out quite right.
- Transferring the batter to the muffin pan can be a very messy process because the batter is quite runny. I like to pour the batter into a large Pryex measuring cup. Then, I pour the batter from the Pyrex into the muffin cups. The pointed spout makes the pouring easier and less messy.
Nutrition


Jennifer Fong says
I love seeing your creativeness! This sounds very close to a Hawaiian butter mochi recipe I have. How would you say the texture is different between the two? I’m going to try yours because we LOVE nien goh but I just wanted to get your thoughts. Happy cooking!
Lisa Lin says
I think the texture is very similar because glutinous rice (used to make glutinous rice flour) has a similar texture to sweet rice (used to make Mochiko and then mochi).
Jamie says
I don’t have cooking spray. Can I butter the pan instead or will there be negative side effects?
Also, tip to avoid getting clumps when stirring dry to wet (your Step 8), use a whisk instead!
Lisa Lin says
You can butter it, but make sure to butter it generously. The cakes might not come out as cleanly without cooking spray.
Pinoy Tambayan says
We created this site to assist Filipinos who have loved ones back home but Pinoy Teleserye have been unable to visit for various reasons.
Pinoy Tv says
Pinoy TV is renowned for only offering the highest quality programming. Filipinos adore these shows because Pinoy Teleserye accurately depict authentic aspects of Philippine life, history, culture, and society.
Stephanie says
Fantastic recipe! It was a big hit with friends and family. Made it exactly as instructed. Thank you for this recipe!
Lisa Lin says
Thank you, Stephanie!
Chefyl says
I made a 3/4 recipe (had already used a quarter pound of my mochi flour for soft hearts), which filled a 24-cup mini muffin tin and 14 standard muffin cups. I cooked each tray separately. I recommend filling minis to 95% full, as the cakes release more easily, and to take them out at 25 minutes (or earlier, if looking done; i wish i had).
The results are absolutely heavenly anyway (tho mine haven’t finished cooling yet, and I’m guessing they’ll lose a bit of that central chewiness as they do).
Chefyl says
PS: Xīnnián kuàilè!
Chefyl says
I was so wrong– the centers stayed chewy!!
This recipe is dangerously delicious 🙂
Jolie says
Made this for LNY and they were such a hit! If you’re nervous about the lumps in the batter like I was…just trust the process! I found that reheating them in the toaster oven was the best way to revive the exterior crispiness that they had on Day 1. Thank you for sharing this recipe — I’d lost access to my family’s version, and this is one I’ll come back to.
Lisa Lin says
Thank you for making these baked nian gao, Jolie!! Thank you for the tip about the toaster oven! I still need to get one for my house!!
Playmix says
Move over, traditional steamed nian gao, there’s a new baked sensation in town! Lisa Lin’s Baked Nian Gao recipe is a game-changer. With its crispy edges and stretchy center, it’s like a flavor-packed party in your mouth. Plus, her troubleshooting tips are a lifesaver! Now I just need to resist eating the whole batch in one sitting…or not.