As a kid, we loved Easter because it meant that we had another excuse to binge on cheap candy and, most importantly, that Spring Break was here! One thing I miss about being a student is that I no longer get that school-sanctioned week of irresponsibility—to sleep in, to watch tv late into the night, or to (gasp!) read for fun. On the bright side, I’m never too old to enjoy a good old bag of pastel-colored chocolate candy or a chocolate Easter egg around this time of the year. And that’s exactly what happened last weekend. (Read: Copious amounts of dark chocolate M&M’s were consumed during the making of this video.)
I’m probably the only person who has never experienced a proper Easter egg hunt. Although it may not be age appropriate for me to snatch those plastic colored eggs from children, that’s not stopping me from bringing the egg hunt experience right to my kitchen.
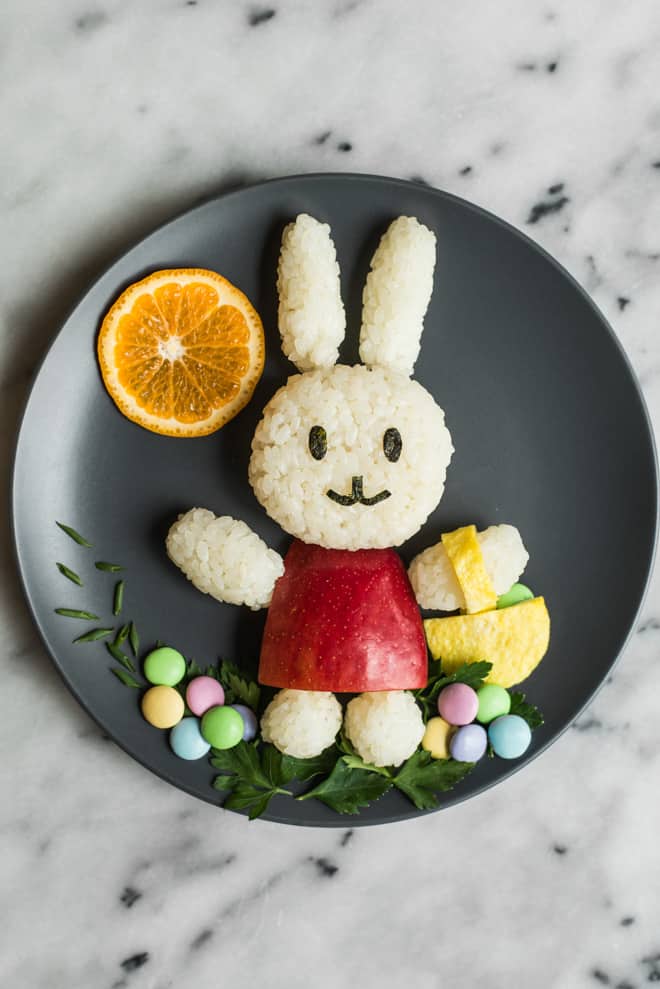
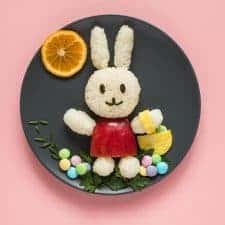
I recently discovered Samantha Lee’s Instagram account, and I am now obsessed. She started creating her food art just as a way to get her girls to eat their meals, but her masterpieces are far from mundane. Here are some of my favorites: Frida Kahlo, Snoopy & Charlie Brown, Cruella De Vil, Totoro, Darth Vader, and Harry Potter. Samantha is known for her Miffy creations, which is where I drew inspiration for my Easter bunnies. I am a wee novice compared to Samantha, but the process of creating these bunnies was so fun, I can’t stop!
So why don’t we all make a few of these bunnies and go Easter egg hunting together?
MASTER MY MISTAKES / COOKING NOTES
- Eyes and Mouth: Originally, I wanted to pipe melted chocolate for the eyes and mouth, but it’s so difficult to do on rice. All of my rabbits came out with chocolate crooked smiles. If you want consistent results, it’s easier to cut out the shape of the eyes and mouth and stick it on the face. I used seaweed, but I’m sure there are other great substitutions.
- USE PLASTIC WRAP: I can’t emphasize how important it is to use plastic wrap to help shape the different bits of rice. I used my hands the first time, and the rice kept sticking to my fingers. You also get a smoother finish when you shape the rice inside plastic wrap.
If you like the video, I would love it if you could give it a thumbs up on YouTube! For the latest updates on my videos, subscribe to my YouTube channel! Also, if you try making these bunnies, let me know! Take a photo of your creation and tag me on Instagram so that I can give you a fist bump!
Easter Bunny Food Art
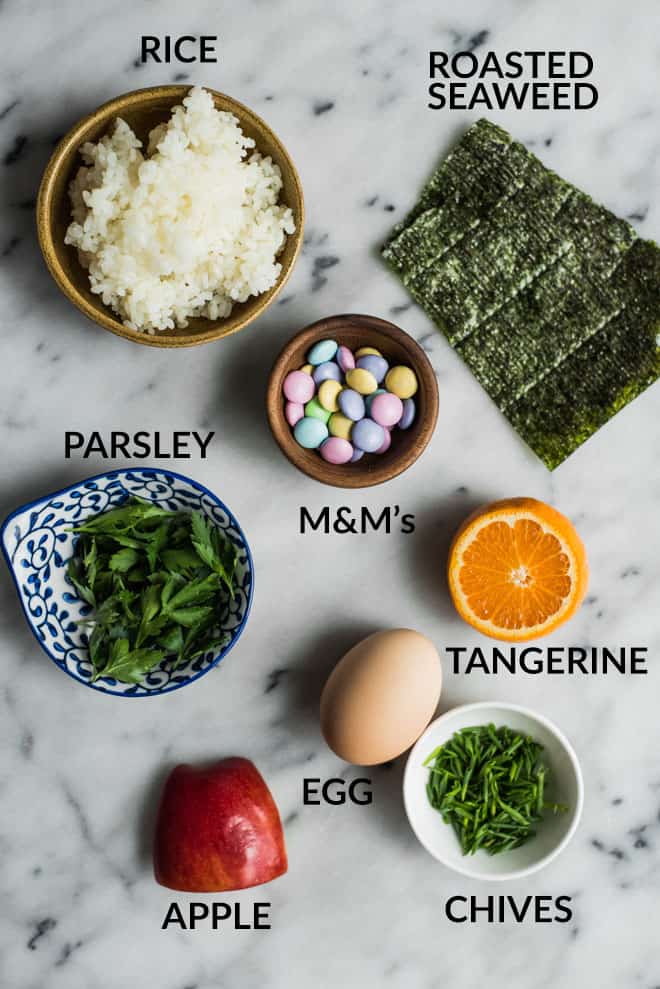
Ingredients
- 1 large egg
- cooking spray
- 2/3 cup cooked rice
- sushi seaweed
- 1/4 of an apple
- parsley leaves
- M&M’s, pastel colors for Easter
- slice of tangerine or orange
- chopped chives
Other Materials
- plastic wrap
- scissors
- tweezers, optional
Instructions
- For the basket: Whisk egg in a bowl. Heat a frying pan over medium heat and spray with cooking spray. Pour whisked egg in pan and swirl it around to make a thin omelette. Cook for 1 to 2 minutes and flip to the other side and cook for about 30 seconds. Turn off heat and dish up omelette to let it cool. Once it is cool enough to handle, cut out a semicircle shape and a long rectangle.
- For the face: Scoop up 1/3 cup of cooked rice and place it in a piece of plastic wrap. Shape rice into a ball and flatten it a little. Set aside.
- For the ears: Scoop up 2 teaspoons of rice and shape into a log about 1 1/2 inches long. Repeat for other ear and set them aside.
- For the arms: Scoop up 1 1/2 teaspoons of rice and shape into a log about 1 inch long. Repeat for other arm and set them aside.
- For the feet: Scoop up 1 teaspoon of rice and shape into a small ball. Repeat for other foot and set aside.
- For the eyes and mouth: Using the tips of your kitchen scissors, cut out small eyes and the mouth.
- For the body: Take 1/4 of an apple and chop it in half, crosswise. Cut out a bit of the core so that the apple can lay flat when you position it on the plate.
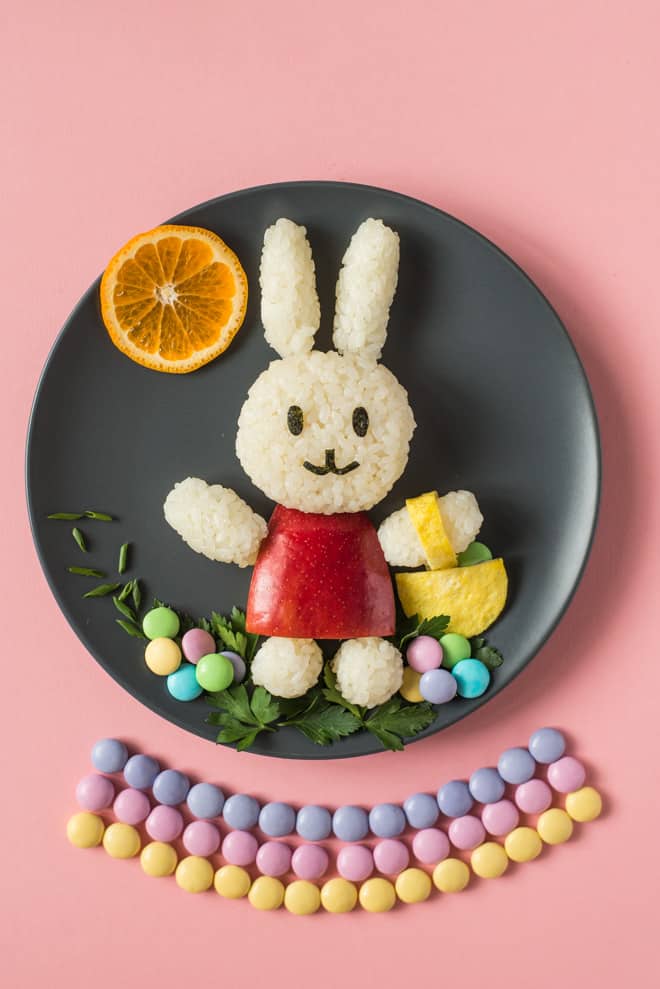
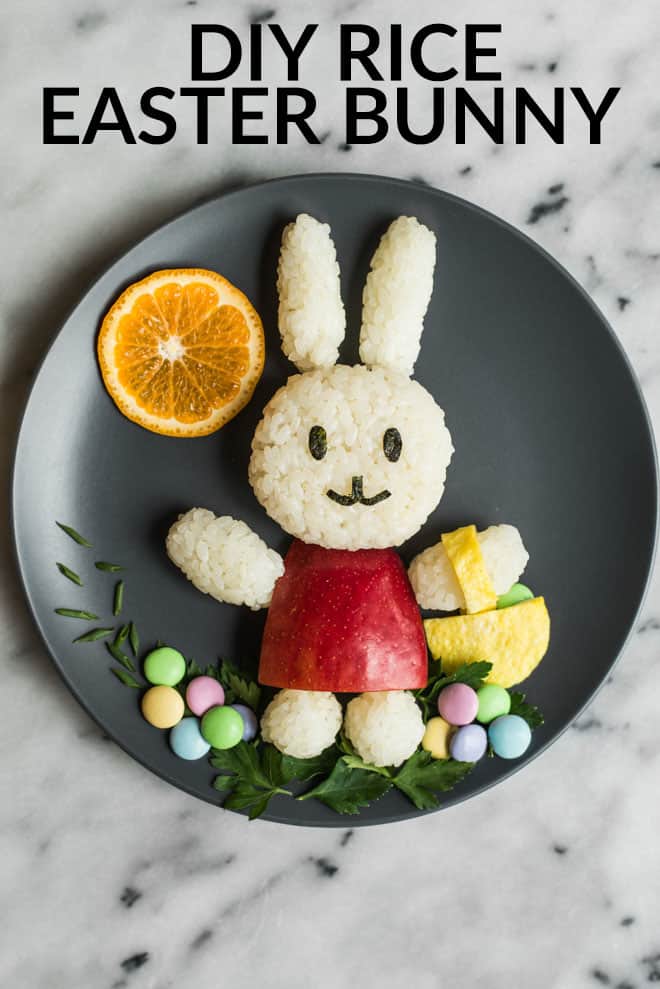
- Assembly: Place the face on the plate, and then add the ears. Use tweezers to help place the eyes and mouth on the face. It’s much easier to use tweezers. Next, place the piece of apple below the face. Make sure that the shorter side of the apple is touching the face. Place the arms on both sides of the apple and feet underneath the apple. Place omelette basket under an arm and wrap the omelette basket handle (the rectangular shape) around the arm. Decorate the rest of your plate with parsley leaves, M&M’s, and chopped chives. Place the slice of tangerine or orange at the top as the sun.
Notes
Note on Music: “Life of Riley” by Kevin MacLeod (incompetech.com)
Licensed under Creative Commons: By Attribution 3.0
http://



Julia says
Gaaaaaah this is just TOO CUTE! Who says only kids get to have fun with food?? I may just have to make some bunny art for dinner tonight…you best believe I’ll triple the M&Ms, cause why not? Off to follow Samantha Lee on InstaG now 😀
Lisa Lin says
Ahhhh, thank you!! Seriously, Samantha’s art is gorg!!!
Traci | Vanilla And Bean says
Perfection Lisa!! Although I’ve never done it, what fun to create a Spring work of art with delicious food! And your video is so sweet.. I love the last addition of the sunshine! A perfect touch! xo
Lisa Lin says
Thank you, Traci! I’m so obsessed with food art right now!
Denise @ Sweet Peas & Saffron says
I saw your video on Facebook the other day and loved it! These bunnies are TOO CUTE! And now I have a new fun account to follow on IG, thanks!
Lisa Lin says
Thanks, Denise!! I’m having so much fun with the new IG account right now!
Uako khan says
Lovely ideas. Aspecially the Youtube video.
Thank you so much.
Happy Easter
Shemla says
Yummy and amazing recipe. I know very well because I also make and eat. Amazing!