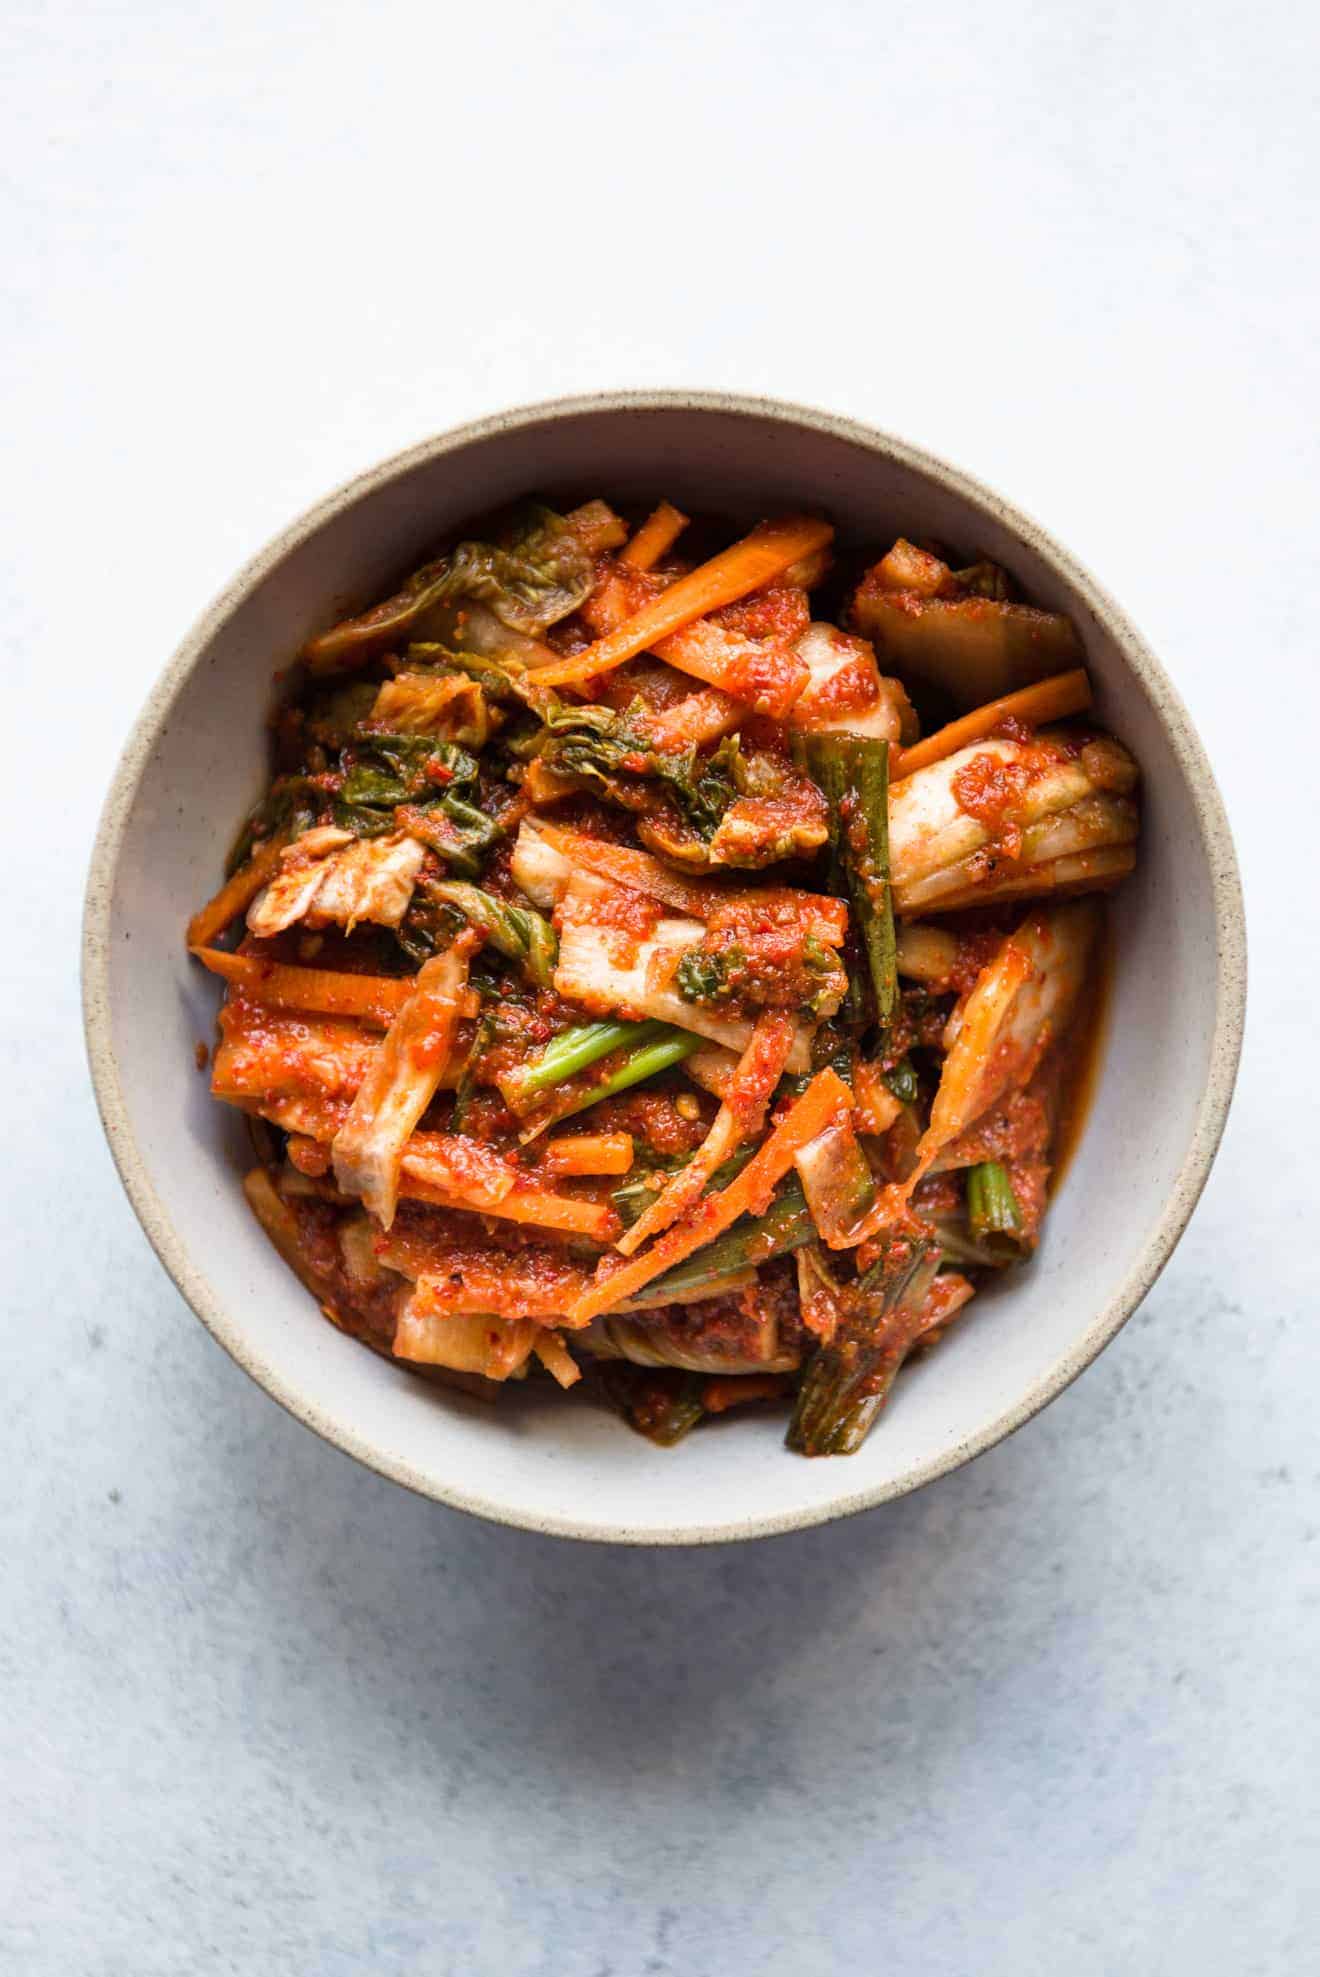
When I posted this picture of a test batch of vegan kimchi a few months ago, a lot of people asked me what made my test batch vegan. Isn’t kimchi just fermented vegetables? It dawned on me that not everyone knows that many varieties of kimchi are seasoned with seafood (fish sauce, salted shrimp, etc.). Heck, I sure didn’t know about it until I started making my own last year.
Let me first back up and say that there are many, many varieties of kimchi and not all of them use seafood or meat stock for flavoring. But a vast majority of them do, especially the familiar baechu kimchi that we see in Korean restaurants.
The process of making kimchi is not as intimidating as it may seem, though it does require time and patience—at least a week. By the end of week, however, you’ll be rewarded with a batch of tasty, pungent kimchi!
KIMCHI MAKING PROCESS
There are essentially 4 phases to making kimchi: brining, seasoning, fermentation, and storing. For many kimchi recipes, you’ll need to brine a head of napa cabbage in salt water overnight. Brining is important for breaking down the cabbage, allowing it to absorb the seasonings that you’ll add in the next phase. It also helps develop deeper flavor for the kimchi.
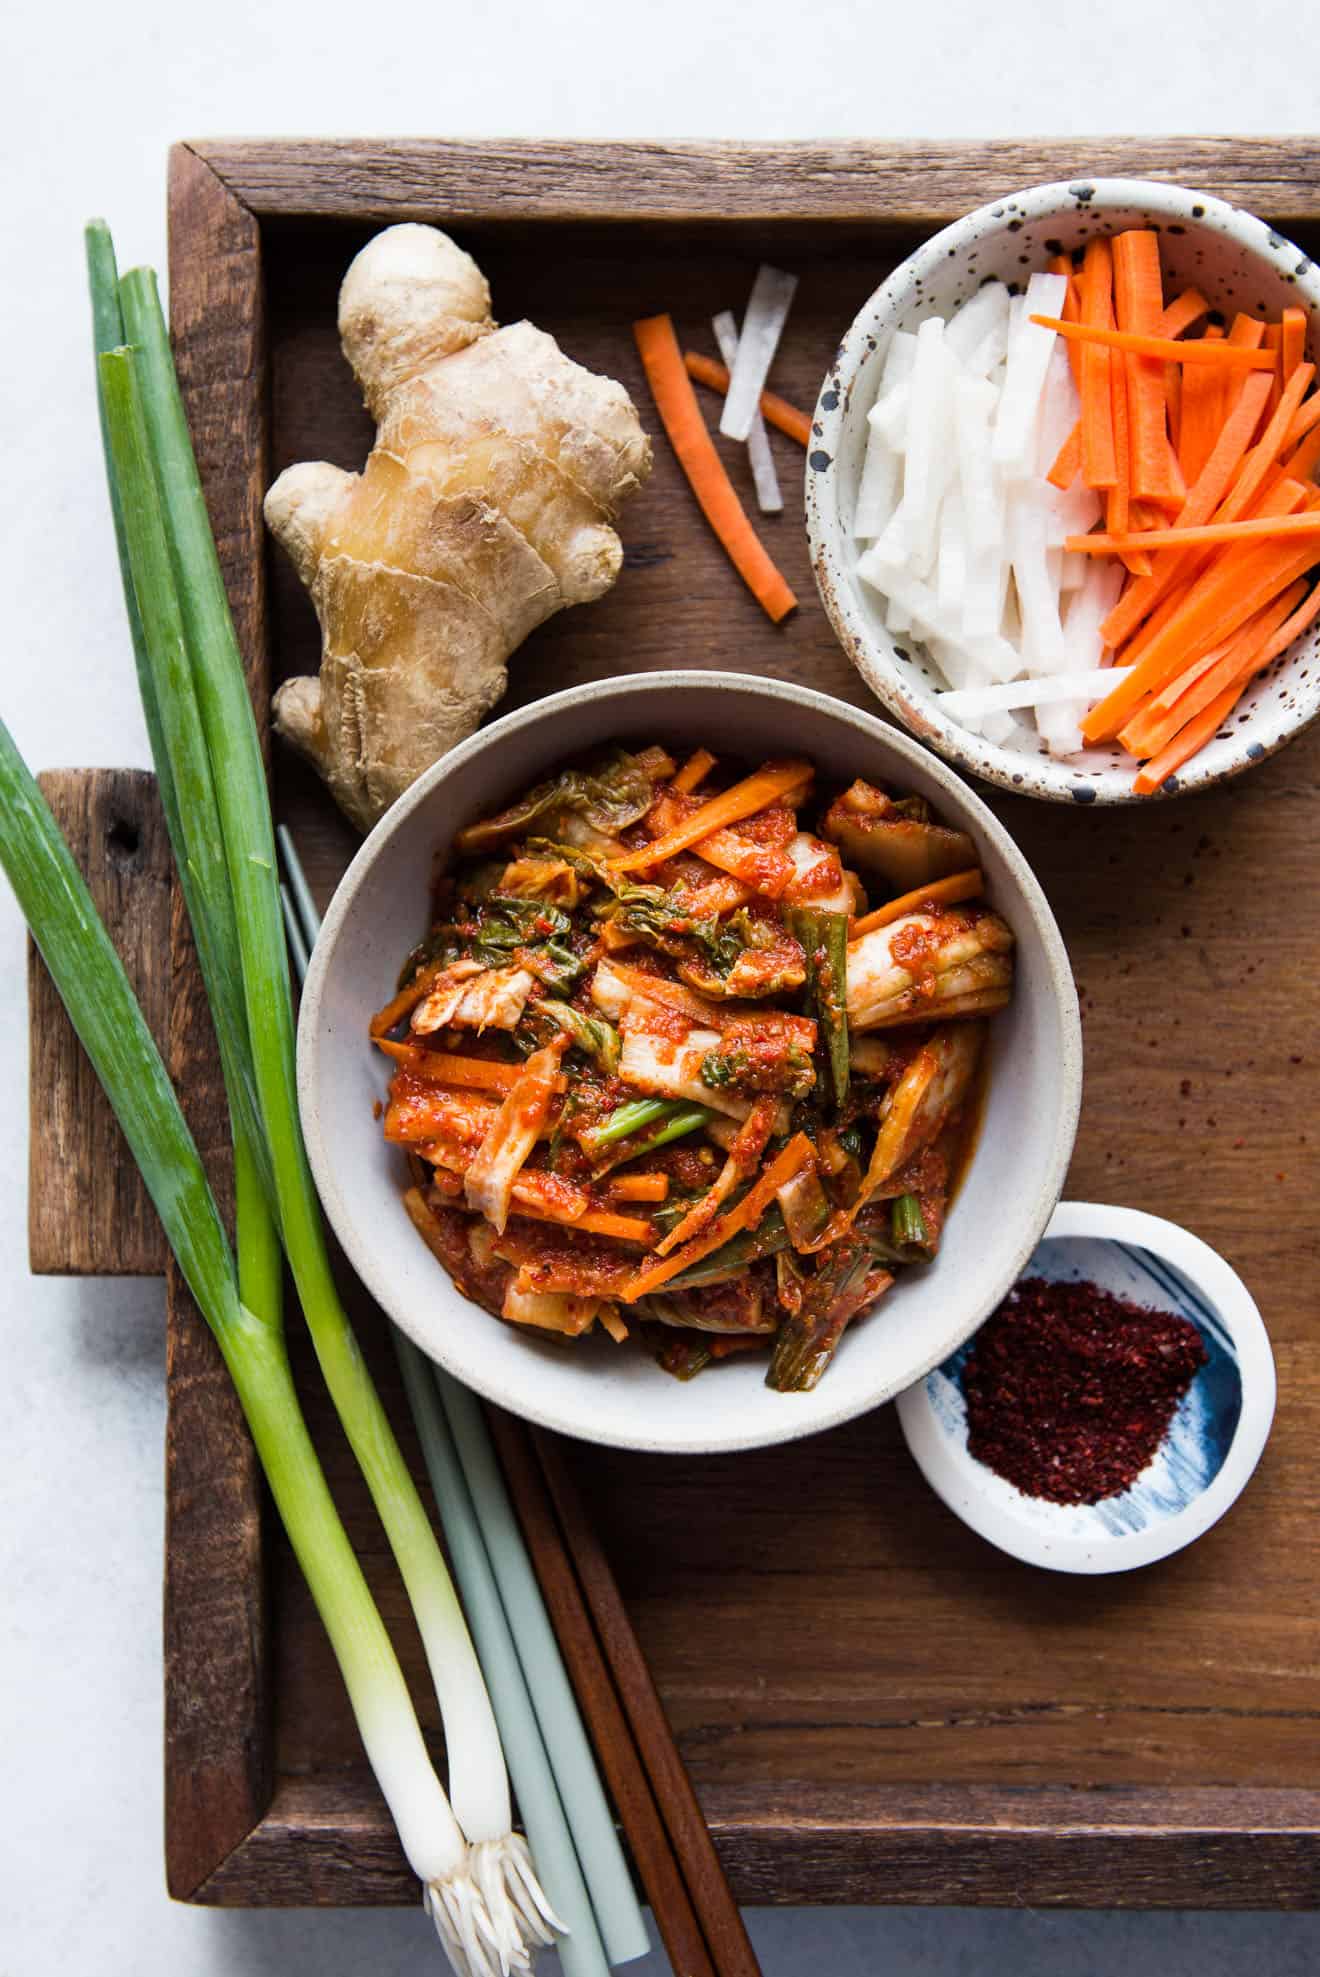
The next phase is seasoning the vegetables. The seasoning for baechu kimchi is usually made with a starter rice flour paste that is blended with Korean chili pepper flakes (gochugaru) and other spices.
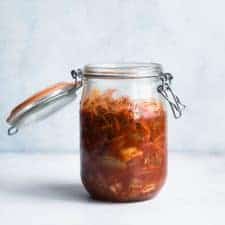
After mixing the vegetables with the seasoning, we move on to the fermentation phase. Because the vegetables contain naturally occurring yeast, you don’t need to add bacterial cultures to ferment the vegetables. Store the vegetables away from sunlight at room temperature in tightly sealed jars. I like using wide-mouth canning jars like this one and this one, but wide-mouth mason jars work, too. Ideally, the room temperature should be somewhere around the 60s and low 70s fahrenheit during the initial fermentation. If the temperature is any warmer, just pop the jar into your fridge. The colder temperatures mean a longer initial fermentation period (around a week instead of 3 to 4 days at room temperature).
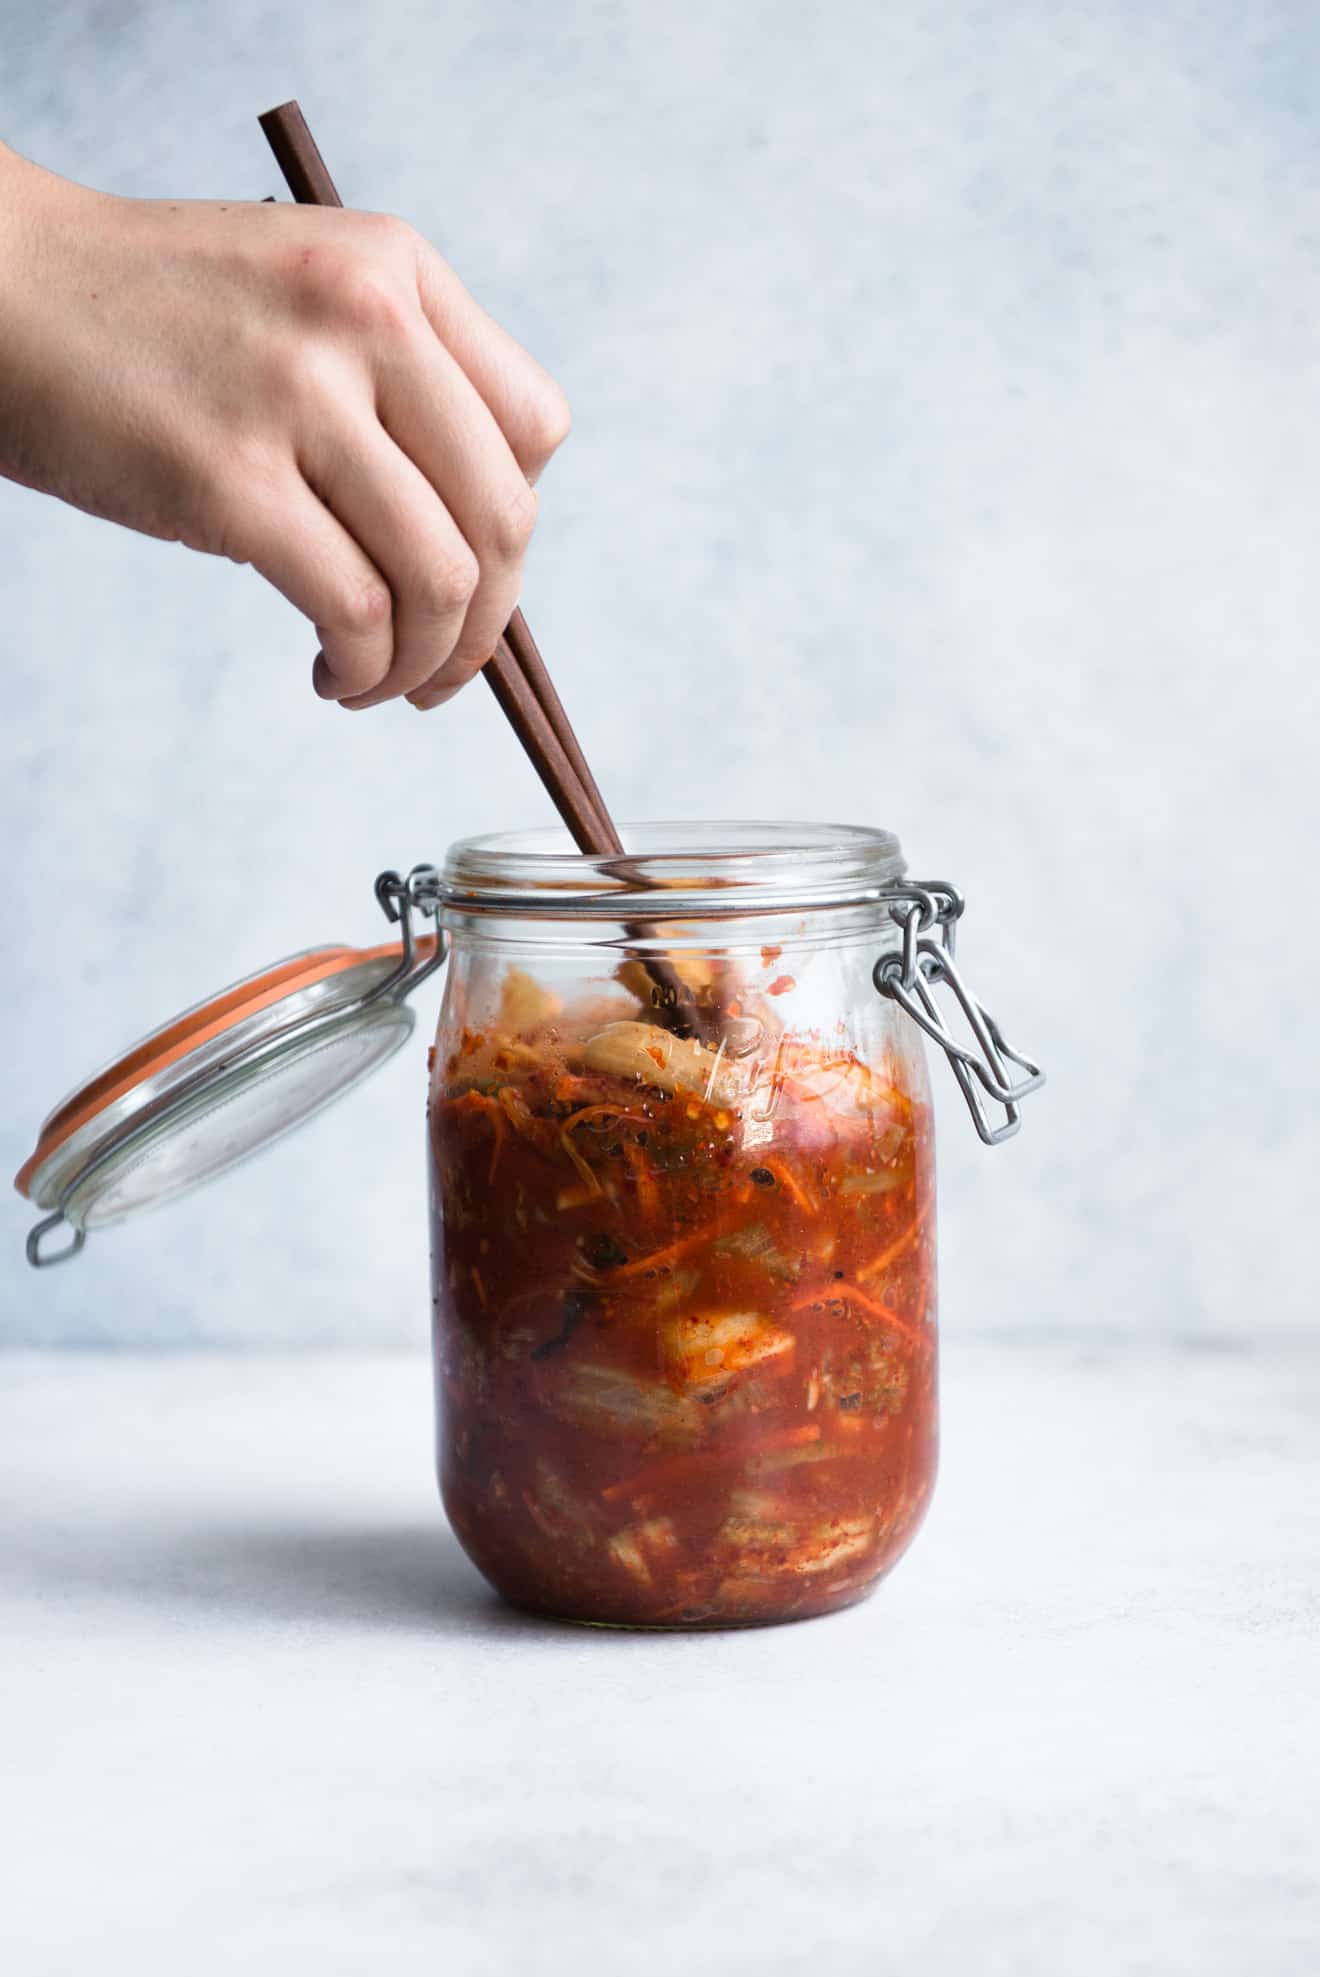
As the vegetables ferment, do not be tempted to open the jar. When you open the jar, you expose the vegetables to oxygen, which disrupts the fermentation process and can cause mold. You may also notice juice building up inside the jar and bubbling within the liquid. That’s perfectly normal. It’s an indication that lactic acid is active, and the vegetables are fermenting properly.
Once you have fermented the kimchi at room temperature for a few days, you’ll transfer it to the refrigerator for final fermentation and storage. I usually let the kimchi sit in the refrigerator for another 3 or 4 days before tasting it.
Again, I know this seems like a long process, but the actual steps aren’t too complicated. After making my own kimchi, I don’t think I can go back to store-bought ones anymore!
COOKING NOTES FOR THE VEGAN KIMCHI RECIPE
- The recipe requires making a paste from glutinous rice flour. You can find glutinous rice flour easily in Asian supermarkets. Bob’s Red Mill’s sweet rice flour works, too. However, we’ll only use 1 tablespoon of the flour, so I don’t blame you if you don’t buy a bag of rice flour for a limited purpose. Cornstarch should also work.
- Instead of using fish sauce and salted shrimp for the seasoning paste, I’m using soy sauce and ground porcini mushrooms for this vegan kimchi. I usually buy a small package of dried porcini mushrooms and grind it with a coffee grinder dedicated for my spices.
- The reason why I made a small batch kimchi recipe is because my husband doesn’t enjoy eating kimchi as much as I do, and it’s difficult for me to eat a huge batch by myself!
Small Batch Vegan Kimchi
Ingredients
Brine
- 1 1/4 to 1 1/2 pounds napa cabbage, rinsed
- 1/2 cup kosher salt
- water, about 8 cups
Seasoning Paste
- 1 tablespoon sweet rice flour, or glutinous rice flour
- 2/3 cup water
- 1/4 cup gochugaru, Korean chili pepper flakes
- 1/2 tablespoon red pepper flakes
- 4 cloves garlic, sliced
- 1-inch piece of ginger, peeled and julienned
- 4 scallions, light green and white portions, sliced
- 1 Asian pear, shinko, diced into cubes
- 1 tablespoon kosher salt
- 1 tablespoon soy sauce, use tamari if gluten free
- 1 tablespoon porcini mushroom powder, optional
Vegetables
- 1 medium carrot, peeled and julienned
- 1/2 cup julienned daikon, Japanese turnip
- 4 scallions, dark green part, sliced into 2-inch chunks
Instructions
Brine the Napa Cabbage
- Rinse the napa cabbage thoroughly and remove any discolored leaves. Slice the napa cabbage into 2 halves, and slice each portion in half again, so you have 4 quarters.
- In a large bowl, stir the kosher salt with 8 cups of water, until the salt dissolves. Carefully place the cabbage into the brine. If it doesn’t look like there is enough water to fully submerge the cabbage, top off the bowl with more water. Place a plate over the cabbage to keep the vegetables submerged under water.
- Cover the bowl and let it sit at room temperature overnight. Drain and rinse the cabbage.
- Take each section of the cabbage and slice it in half to get 2 long strips. Slice the strips into 1 1/2 to 2-inch pieces.
Prepare the Seasoning
- Mix the rice flour with 2/3 cup of water in a saucepan. Bring the water to boil over medium heat. Stir the mixture constantly to break up the clumps of rice flour. The mixture should start to thicken in 1 to 2 minutes. Let the mixture simmer for 1 minute and turn off the heat. You should have a thick mixture that looks like pudding. Transfer the mixture to a bowl and stick it into the fridge to cool.
- Once the rice mixture has cooled to about room temperature, transfer it to a food processor. Add the gochugaru, garlic, ginger, light green and white portions of the scallions, asian pear, salt, soy sauce, and porcini mushroom powder. Blend everything until you get a smooth mix, scraping down the sides of the bowl, if necessary.
- Transfer the napa cabbage pieces to a large bowl. Add the carrots, daikon, and dark green parts of the scallions. Stir to combine the vegetables.
- Pour the seasoning mixture over the vegetables. Wearing gloves, thoroughly rub the seasoning into the vegetables. You want to wear gloves because seasoning stains and the spice from the peppers can be too much for your hands. If you don’t have gloves, you can also stick your hands into plastic produce bags.
Fermentation
- Carefully transfer the kimchi to a sterilized canning or mason jar. Pack the kimchi and seal the jar. Let it sit at room temperature in a cool, dark place for 3 to 4 days. DO NOT open the jar during this initial fermentation period. This will expose the kimchi to oxygen and can lead to mold. If you notice juice and bubbles forming in the vegetables, don’t worry. That’s exactly what you want to see.
- Transfer the jar to the back of your fridge and let it sit there for another 3 to 4 days.
- Taste the kimchi. If you prefer more sour kimchi, leave it in the fridge for a few more days. The kimchi will continue to ferment over time. Otherwise, serve it with your favorite foods!
Notes


sarah says
Question: I have regular rice flour – do you think that will work? maybe I can do 1 part flour one part cornstarch (or vital wheat gluten to replace the lack of gluten in regular rice flour)? I just don’t want to buy a whole bag of glutenous rice flour.
I am very excited about this recipe! I love kimchi but I’m a vegetarian and all the recipes out there are for a HUGE batch. can’t wait to make it!
Lisa Lin says
Hi, Sarah! I think regular rice flour should work! Let me know if it does! I would love to use your feedback to update the recipe notes.
Michelle says
Can you substitute grounded shiitake mushroom for Porcini and apple for the asian pear?
Lisa Lin says
Yes to both substitutions!
MJ Gordon says
how much is a “serving”? the nutritional information doesn’t mean much without this….
Lisa Lin says
Hi, MJ. Great question. A serving is just over 1/2 cup.
J says
Hi Lisa! Will the mason jar explode from the fermenting process if I seal the jar tightly? It seems to be an issue with other recipes online. Thanks!
Lisa Lin says
Hi J, that has not been my experience at all, but I use the fido jars that close with a clasp instead of the screw tops. Also, to be safe, you can try to make sure there is at least 1.5 to 2 inches of space between the kimchi and the top of the jar. That will give some room for the gases to circulate in the jar. Hope this helps!
Bridget says
I made this recipe last week and was blown away. It was so good! Definitely better than any store-bought kimchi I’ve had. The only gochugaru I could find was a massive bag that I didn’t want to purchase, so I used gochujang instead and reduced the amount of salt the recipe calls for. Also, as I was packing it in the jars, I didn’t push it down enough so it started browning on top after a few days. I messaged Lisa on Instagram and she helped me salvage it immediately (I threw out the brown leaves and packed the vegetables down).
Overall, the kimchi is crazy flavorful and so easy to make. I definitely recommend making it!
Erin says
What is a substitute for rice flour? I am new to making kimchee, so I don’t have that ingredient.
Lisa Lin says
Hi, Erin! I’m so sorry it has taken me so long to respond! I think any type of starch, like cornstarch, potato starch, or tapioca starch should work in place of the rice flour.
Jamie Cho says
Hi Lisa, I always get fascinated with your feed on Instagram (esp. dumplings!) and it’s my first time on your website. Your foods are so mouthwatering and I can’t wait to try them…!
I just wanted to share my grandma’s tips on making kimchi! 🙂 (she makes one of the best kimchis I’ve ever had). Instead of sweet rice flour, you can use a tablespoon of COOKED RICE (cold or hot, doesn’t matter). She smashes the rice with a spoon and adds to the sauce mix. She said it’s easier to use rice b/c she always has it in her kitchen and it still yields as good effect as sweet rice flour. Also, she blends in red JALAPENŌS and RED BELL PEPPER (mini size ones for some reason) when she makes the sauce. They add additional spiciness and more flavor! The slight sweetness and juiciness of red bell pepper seems to balance out the spicy&salty flavors. Also, it won’t be vegan, but adding some FERMENTED SHRIMPS (tiny weeny shrimps salted in a bottle) and FISH SAUCE would add so much flavor as well! I hope you get to try at least some of these tricks next time! 😉
Lisa Lin says
Jamie, thank you so much for these tips!!! I appreciate it!
Marialice says
I am enjoying my second batch of kimchi which is better than the first. I did not add crushed red pepper to the first batch as I feared getting it too hot to enjoy. While first batch was still good, it definitely needed the heat and adding it has improved it greatly. I love having a bit of this fresh veggie mix on the side of almost every meal. I think it will become a staple! Thanks for this recipe!
Most other recipes I read before making my first batch said to leave jar open slightly at first. I closed mine as instructed in this recipe without any problems and wondering why the difference in method?
Timothy Meyers says
It’s probably just to be extra careful about pressure buildup. As long as your vegetables remain fully submerged under the brine, it shouldn’t need to be sealed tightly.
Timothy Meyers says
Just a tip for you and your readers- Ball now makes fermenting jar lids with a built in “burp” valve to release pressure but prevent air from entering and a strong spring that presses vegetables down to keep them submerged. They fit ball wide mouth jars-not sure if they fit other jar brands. I’ve got sauerkraut going now. Once that’s done I’m going to try your recipe! I got one head of green cabbage into one 2 quart jar, so I’m guessing this recipe would fit in two-three 2 quart jars.
Justyna says
I’ve been looking for a small batch vegan kimchi recipe and finally found one 🙂 I’ll give it a go this weekend. Thank you so much!
Kristen says
Hi! If I wanted to use the fish sauce and salted dried shrimp in my recipe are the amounts the same (i.e. 1 tbsp of each)? Also, do you grind the shrimp to powder as well?
Thanks!
Maria says
I did this recipe and it turned out amazing 🤤🤤🤤but I did get that much juice.
I get the bubbles but not that much liquid
Did you know why?
Am I did wrong?
Ana says
Dear Lisa…thank you for the kimchi recipe…but I find it too complicated…I think it’s easy for me to get it from the store….!!!…but of course I’m sure yours is excellent…👍❤️
happy wheels says
Why is it called vegan kimchi? The ingredients of kimchi are vegetable. I often use all vegetable to make it. It is so good. Then, I wonder about its name. Your recipe is so excellent.
Rachael says
I always use this recipe! It’s easy to make, and the items are accessible in Australia
Lisa Lin says
Thank you, Rachael!
John Harrison says
Wow you weren’t kidding about the gloves, 🧤, I 1st didn’t but within two minutes hands were washed and rubber gloves on, I went by your instructions except I also did a batch of turnips which I let ferment in the fridge for about two weeks longer , well almost as I kept eating out of the jars , ya can’t help it, also I’m going to say this, it’s great for blood sugar (glucose) management for everyone but especially for diabetics , love this stuff
Jennifer Hill says
I have followed this recipe and made it at least three times and I absolutely love it! The directions were easy to follow, and the resulting kimchi is really delicious. I only added more carrot and daikon radish because I like it so much. 🙂 Thank you!!
Lisa Lin says
Thank you, Jennifer!
Slope says
I love the idea of a small batch recipe. It’s perfect for people who want to try making kimchi at home without ending up with too much.
รับทำ seeding says
That looks amazing! I have to try making this.